How to upgrade to Windows Server 2019?
If you're running Windows Server 2012 R2 or Windows Server 2016, you're probably wondering if you should upgrade to Windows Server 2019. The short answer is yes. The newest version of Microsoft's server operating system offers a number of significant improvements in areas such as security, performance and support for new technologies. If you decide to upgrade your server, there are several ways to do so, each with its own specific requirements and steps.

Why upgrade to Windows Server 2019?
Before we talk about how to upgrade to Windows Server 2019, it's important to discuss why you should do so. First, Windows Server 2019 offers better security than previous versions. This includes better protection against zero-day attacks and greater resistance to advanced persistent threats. Moreover, it includes a new security characteristics, such as security memory scanning and ransomware protection.
Second, this software is faster than previous versions. It offers performance improvements in areas such as storage and networking, which means your applications and services should run more efficiently and faster. There are also improvements in scalability and system management.
Third, Windows Server 2019 is more compatible with new technologies. This includes support for Windows containers, Kubernetes and Azure Stack HCI. If you are interested in working with these emerging technologies, upgrading to the latest server version will allow you to do so more easily and efficiently. In fact, there are many applications in all different IT sectors that are no longer compatible with Windows Server 2016 and its previous versions. If you decide to upgrade to the 2019 version you are assured of a platform with a high degree of stability, support until 2029 from Microsoft and enhanced security, usability, etc.
Requirements
Before starting the upgrade process, make sure you meet the minimum system requirements. These include:
64-bit processor with at least 1.4 GHz speed.
At least 2 GB of RAM (but 4 GB or more is recommended)
At least 32 GB of available Storage space
Video card compatible with DirectX 9 or higher and WDDM 1.0 driver or higher
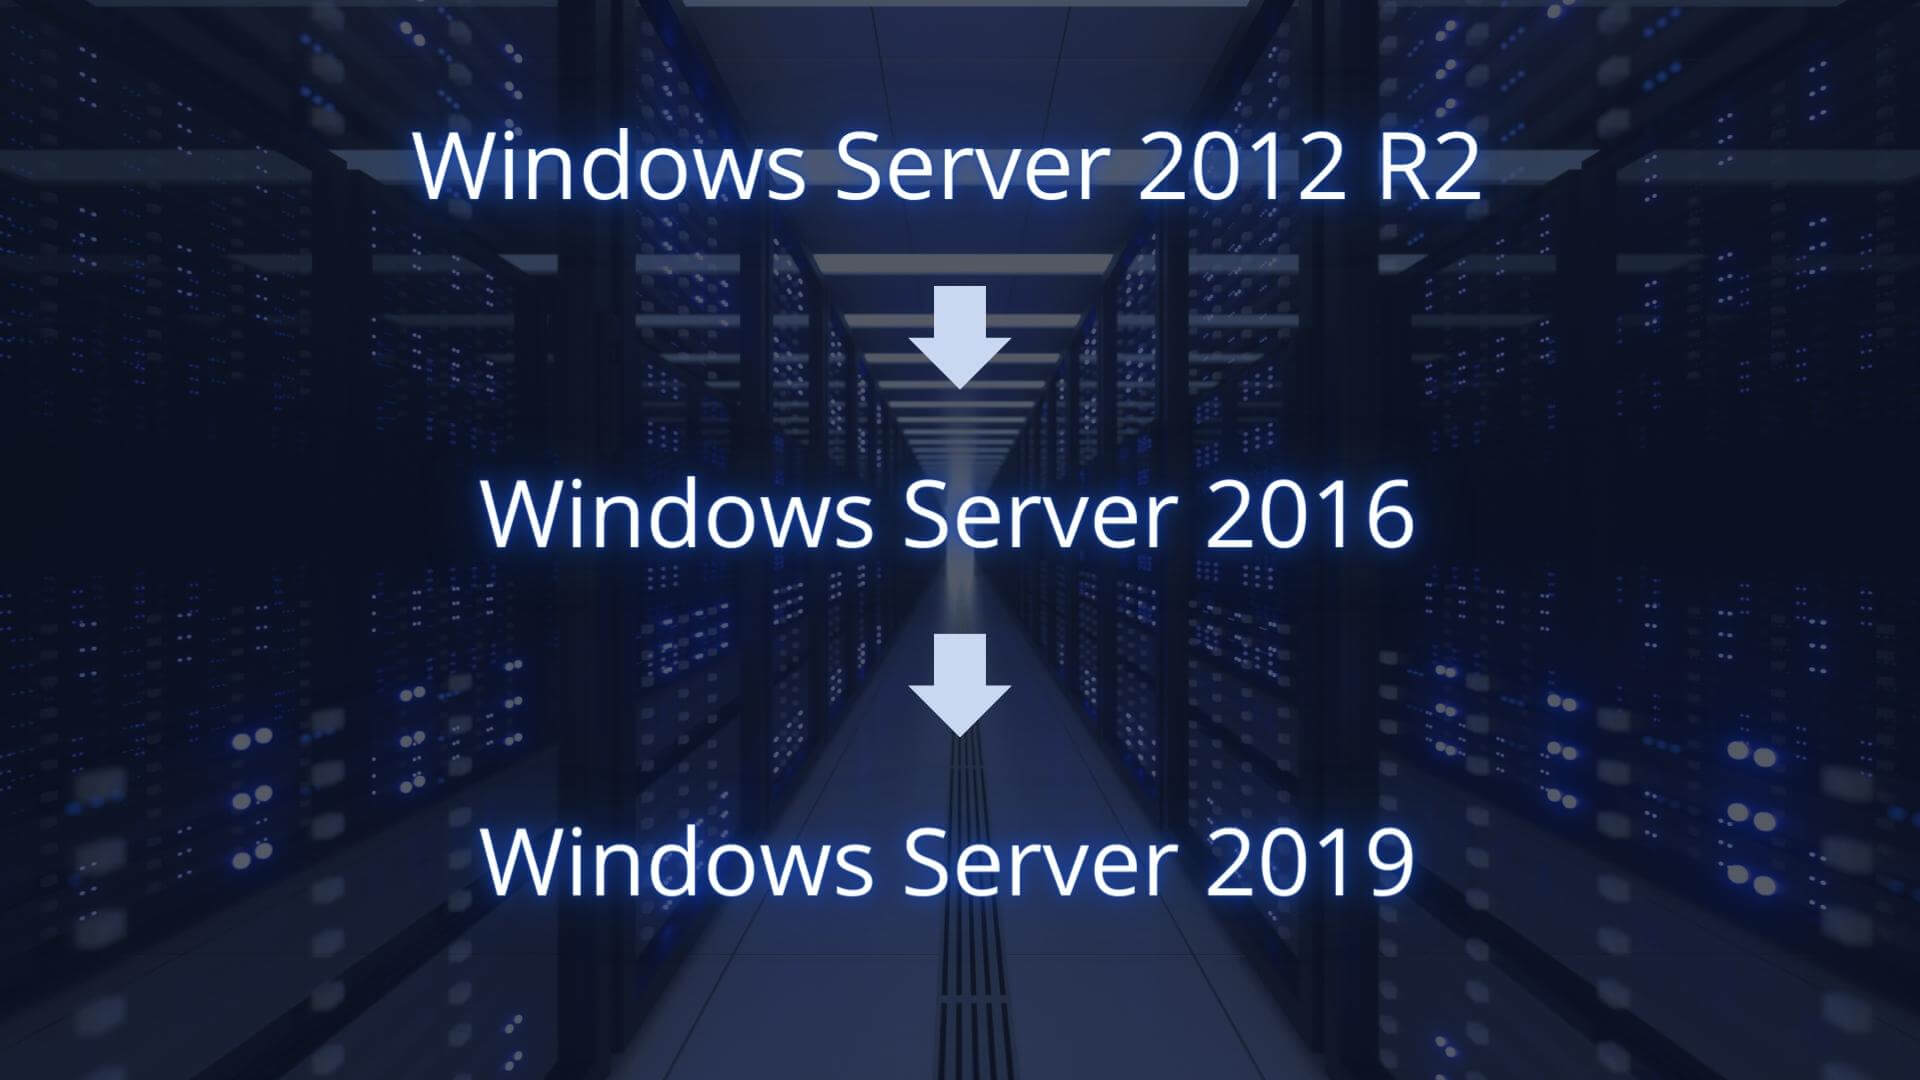
Also, please note that if you are upgrading from Windows Server 2012 R2, you must first upgrade to Windows Server 2016 before you can upgrade to Windows Server 2019. If you are upgrading from Windows Server 2016, you can jump directly to Windows Server 2019.
Two upgrade options
There are two main ways to upgrade to Windows Server 2019: through a direct upgrade or a clean install.
Option 1: Upgrade directly from Windows Server 2012 R2 or 2016
If you are upgrading from Windows Server 2012 R2 or 2016, you can perform a direct upgrade to Windows Server 2019 (with the Windows Server 2016 pass-through for those upgrading from Windows Server 2012 R2). This means you can install Windows Server 2019 on the same machine and migrate all your existing data and settings. To do this, follow the steps below:
Download the Windows Server 2019 image from the official Microsoft website.
Run the installation file after mounting the ISO image.
Select the "Upgrade this computer now" option on the installation screen.
Follow the appearing instructions.
It is important to note that this process can be quite time consuming, especially if you have a large amount of data and settings. It is also advisable to make a backup of all your data before performing the upgrade.
Option 2: Clean installation of Windows Server 2019
If you prefer to start from scratch with a clean install of Windows Server 2019, you can do that as well. This involves installing a new version of Windows Server 2019 and then configuring all your services and applications from scratch. To do this, follow the steps below:
Download the Windows Server 2019 image from the official Microsoft website.
Run the installation file after mounting the ISO image.
Choose the "Custom: install Windows only" option on the installation screen.
Follow all the appearing instructions to complete the installation.
After that, you will need to configure your services and applications from scratch. While this may take longer, it enables you to have full control over your system and customize it to your needs.
Conclusions
Upgrading to Windows Server 2019 is a major process that requires quite a bit of effort. However, if you follow the steps mentioned above, you will be able to do it without any problems. Make sure to check your system requirements, back up your data and follow the instructions of the upgrade wizard. If you need help during the process, do not hesitate to contact a system specialist.
We hope you found this guide useful and wish you good luck with your upgrade.
If you have any remaining questions, please contact us!
Your Licendi team