EN
 FR
 DE
 IT
 PT
 ES


Corel PaintShop Pro 2023: the perpetual-license alternative to Photoshop
Some photographs simply need their horizon straightened. Others call for patience: bringing out a face in shadow, separating a product from its background or combining several shots without a visible seam. These tasks do not always require a subscription. What you need is an editor that suits your images, your computer and the way you work.
Corel PaintShop Pro 2023 offers precisely that possibility: photo editing for Windows, layer-based tools and a license purchased with a one-time payment. It is not Photoshop under another name, nor does it aim to reproduce every feature of the Adobe ecosystem. Its appeal lies in offering a broad set of tools for retouching, compositing and preparing images without a recurring fee for that version.
If that balance appeals to you, take a look at the Corel PaintShop Pro 2023 license available from Licendi. Before deciding, it is worth understanding what you are buying, how it differs from Ultimate and how to organize an entire job, from the original file to the image your client will eventually see.
What a perpetual-license alternative really means
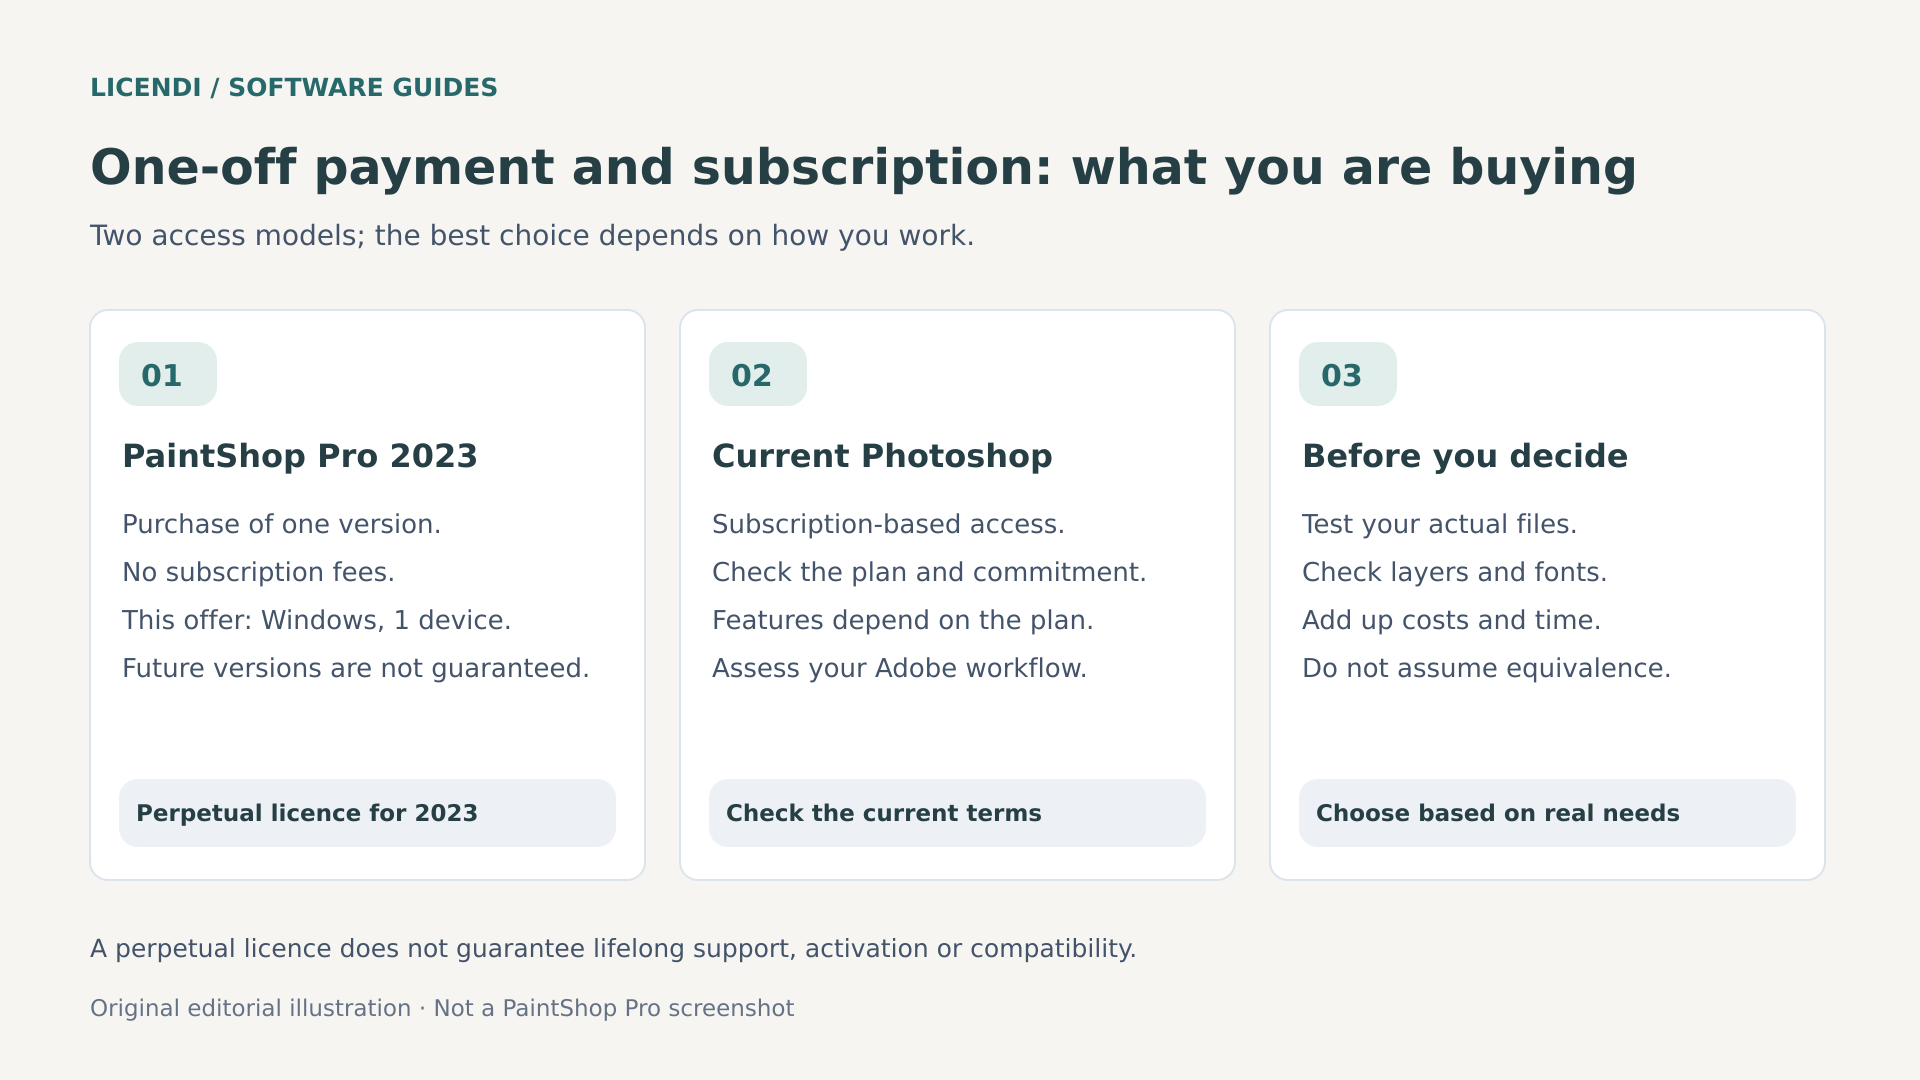
A perpetual license grants a right to use the purchased version without a contractual expiry date, subject to its terms. It does not mean receiving all future versions, unlimited maintenance or every add-on the manufacturer releases afterward. Nor does it make the program independent of its operating system and installation mechanisms.
Corel requires an Internet connection to install and authenticate PaintShop Pro 2023. A one-time payment therefore does not mean guaranteed activation forever, servers that will remain available indefinitely or automatic compatibility with future computers. Keep your invoice, instructions and license details, along with any permitted copies of the installer. This precaution applies to any software purchased for use over several years.
The current desktop version of Photoshop is available through a Creative Cloud subscription. The financial difference involves more than comparing a single payment with a monthly fee: updates, included services and the demands of your work matter too. If you edit intermittently and your needs remain stable, PaintShop Pro can be a particularly sensible choice. If you rely on specific Adobe features every day, switching simply to avoid the subscription fee could cost you dearly in time.
Factor in the time needed to adapt, too: finding tools, learning shortcuts and checking old files all have a cost, even if it does not appear on the invoice. A useful test is to time a typical task and check the deliverable, rather than count buttons. For occasional use, that adjustment period may be short; for daily production involving automation, you need to plan the transition and temporarily retain your previous workflow.
Who PaintShop Pro 2023 makes sense for
It is a good fit for enthusiasts who want to move beyond quick phone adjustments, small businesses preparing catalog photographs and professionals delivering finished images. Correcting exposure, removing blemishes, adding text, working with transparency or creating an advertising composition are all tasks that suit its approach.
It also lets you organize photographs, apply batch processes and record certain operations as scripts. This is useful when you need to prepare many images with consistent dimensions and watermarks. The benefit comes from repeating an actual task, not from collecting tools you will never open.
However, consider it more cautiously if you receive complex Photoshop documents that must be returned fully editable, use indispensable extensions or collaborate with teams working exclusively within Adobe. It is also not a straightforward purchase for macOS: this version is for Windows. The right choice depends on the file you need to deliver, not the program's logo.
System requirements: check more than the minimum memory
A product listing may summarize the requirements, but when preparing your computer, it is worth consulting Corel. The official PaintShop Pro 2023 pages consulted specify 64-bit Windows 10 or Windows 11, a minimum of 4 GB of RAM and 3 GB of free space for installation. They recommend 8 GB of RAM for artificial intelligence features and 4 GB of storage space. Do not confuse these minimums with a configuration that will handle every project comfortably.
There is one specific discrepancy with Licendi's listing, which mentions 2 GB of disk space. For this guide, we use the more demanding official specification: allow at least the 3 GB stated by Corel, preferably 4 GB for installation, plus plenty of additional space for photographs, temporary files and backups. Files containing numerous layers can become very large.
- Processor: Corel supports Intel Celeron G series or AMD Phenom II and above; it recommends Intel Core i5 or AMD Ryzen and above for AI features.
- Graphics: an adapter compatible with DirectX 11 or later and up-to-date drivers; a dedicated DirectX 12-compatible graphics card is recommended for acceleration.
- Display: a minimum of 1366 × 768; the recommended 1920 × 1080 resolution provides a more comfortable layout for the image, tools and palettes.
- Practical use: an SSD and 16 GB of RAM are a sensible recommendation for demanding projects, not an official minimum or a performance guarantee.
Check the security support for your version of Windows as well. An application listing an operating system as compatible does not extend that system's maintenance period. And do not assume a 32-bit installation will work: PaintShop Pro 2023 is offered for 64-bit Windows.
PaintShop Pro and Ultimate: the editor is not the entire package
The standard edition already includes layers, masks, photographic tools and AfterShot Lab. Ultimate adds a collection of applications and resources; it is not the only way to obtain the full editor. The official 2023 documentation lists Painter Essentials 8, PhotoMirage Express, Highlight Reel, MultiCam Capture 2.0 Lite and the Sea-to-Sky workspace among its extras.
This distinction helps avoid buying the wrong product. MultiCam Capture is an additional video capture application; its presence in Ultimate does not establish that a standard license includes screen recording. AfterShot Lab, which is integrated into the editor, should not be confused with a separate AfterShot Pro license either.
The PaintShop Pro 2023 offer from Licendi identifies the program, one activation for a Windows device and digital delivery. Do not automatically assume it includes the Ultimate bundle or paid add-ons simply because they appear on another Corel page. If an extra is essential to you, confirm that it is expressly included before buying.
Set up a workflow you can repeat
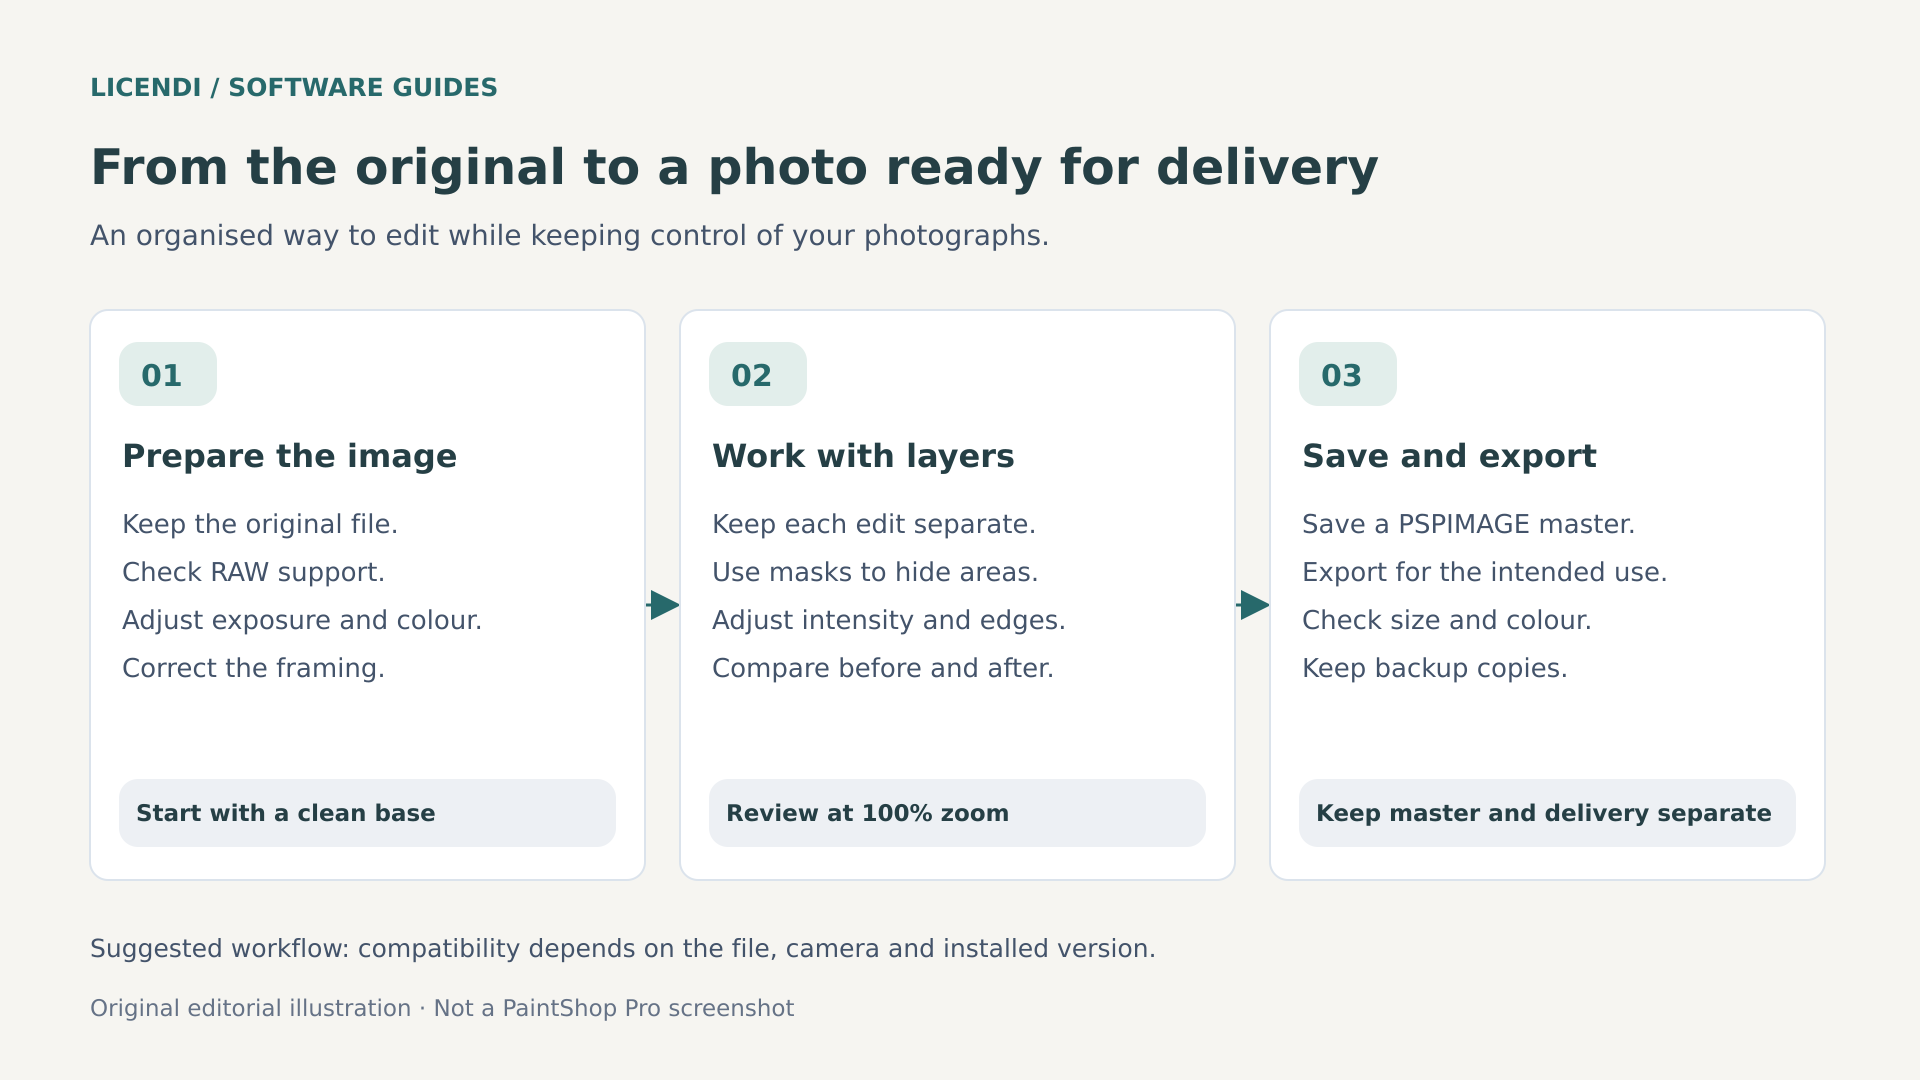
Before touching any controls, organize three folders: originals, projects and deliverables. Keep camera files in the first, save editable documents in the second and reserve the third for versions intended for the web, printing or sharing. A simple structure prevents you from overwriting an irreplaceable photograph with a small JPEG.
In PaintShop Pro, you can choose workspaces offering different sets of tools. For the following exercises, the Complete workspace is the most useful because it makes palettes and advanced operations easier to access. If a panel is missing, check the workspace settings before assuming your edition does not include that feature.
Start with five representative photographs: one well exposed, one dark, a portrait, an image with fine detail and a product against an uneven background. This small selection reveals your working requirements better than randomly opening hundreds of files. You can use the official trial to check performance on your computer, without assuming that every camera and extension will behave the same way.
From RAW to a balanced photograph
A RAW file preserves capture information that gives you more scope for adjustment than an already processed JPEG. It will not magically recover a completely blown-out or out-of-focus scene, but it lets you make exposure and color decisions with greater flexibility. PaintShop Pro 2023 includes Camera RAW Lab and the new AfterShot Lab for developing compatible files.
An initial RAW development workflow with AfterShot Lab
- Open the file. From Manage, use File and Open, or select a RAW thumbnail and the option to edit RAW. When prompted to choose, select AfterShot Lab and continue.
- Adjust white balance. Find a genuinely neutral area and use the appropriate eyedropper. Then fine-tune the temperature while looking at the whole scene: a wall lit by a warm lamp does not always need to appear white.
- Correct the overall exposure. Adjust the general brightness before chasing small details. Watch the histogram and bright areas; not every photograph needs to cover exactly the same tonal range.
- Work on highlights and shadows. Recover highlights where information is available and open up shadows in moderation. Lifting them too far can reveal noise and remove the sense of depth.
- Check lens corrections and detail. Look for distortion, chromatic aberration and vignetting. If the detected profile does not match your lens, do not blindly accept the automatic correction.
- Continue in the editor. When you finish editing in AfterShot Lab, PaintShop Pro opens a TIFF version. Keep the RAW file and then save your editable project separately.
Make noise and sharpening adjustments while viewing the image at one hundred percent. A photograph that appears flawless when it fits entirely on screen may show artificial edges when enlarged. If you intend to print it, consider the output size too: there is no need to chase every tiny grain that nobody will see in the final print.
RAW compatibility depends on the specifics
Corel publishes an extensive list of compatible cameras. Even so, recognizing extensions such as CR3, NEF or ARW does not guarantee that every file from every model will open. The specific camera, compression modes and installed version all matter. A camera released more recently than the program requires particular checking.
Find your model in the official list and test real files using your usual settings. If it does not work, one possible solution is to develop the files in a compatible application and continue via TIFF. Converting to DNG is not a universal guarantee either. And sharing XMP metadata does not mean two RAW developers will reproduce exactly the same color, sharpening or exposure adjustments.
Layers tutorial: retouch without losing your starting point
Think of layers as stacked elements: the photograph, adjustments, text and graphics. What sits above can hide or modify what lies below. Separating these elements lets you change a decision without rebuilding the entire document. However, using layers does not automatically make every operation reversible: painting directly on a layer still changes its pixels.
- Save a project. Open the image and use Save As to create a PSPIMAGE file. This will be your working document, not the file you send to a shop or publish on a website.
- Duplicate the photograph. Keep an original copy and work on another layer. Use helpful names such as “Base,” “Cleanup” or “Product,” rather than accumulating numbers that are impossible to remember.
- Add an adjustment layer. Under Layers, choose New Adjustment Layer and a correction, such as Curves. Gently modify the tones and compare by toggling the layer's visibility on and off.
- Control its scope. An adjustment layer affects the layers below it. If it should modify only one photograph, group that photograph and the adjustment; within the group, it will affect the elements beneath it in that group.
- Add text separately. Keep the headline or product reference on its own layer. This lets you change the wording, size and position without retouching the photograph again.
- Review and save. Toggle the visibility of your changes and check that they contribute something. Keep the layered PSPIMAGE before preparing a final copy.
A simple example is preparing an advertisement for a bicycle: keep the photo at the bottom, place its tonal adjustment above it and add the price on a separate text layer. If the promotion changes tomorrow, you can edit the text without touching the retouching. Save versions with clear names when trying different compositions. The undo history helps during a session, but it does not replace those saved documents or a backup stored separately from your computer.
The 2023 version lets you preview blend modes as you move through the options in the Layers palette. It is a practical way to explore how two elements interact. Even so, do not choose a mode simply because it produces a striking effect: check skin tones, whites and shadows. A product composition must still represent the item's color accurately.
Masks tutorial: change the background without erasing the product
A mask determines which parts of a layer are visible. White reveals, black conceals and shades of gray allow partial transparency. This approach offers a huge advantage over erasing: if you make a mistake, you can recover an area by painting on the mask again, provided you keep the original layer.
Imagine a mug you want to place against a plain background. The aim is not just to cut it out; you also need to preserve the handle, avoid halos around the edges and maintain a consistent shadow. Work on the separation first, then on making it fit visually.
- Prepare the layers. Place the new background beneath the photograph of the mug. Select the product layer and check that you are working on a copy, not your only original.
- Create a mask that reveals everything. Use Layers, New Mask Layer and Show All. Nothing will disappear at first: you have created a white mask that leaves the photograph visible.
- Hide the old background. Select the mask thumbnail and paint black over the unwanted areas. Start with a large brush away from the object and reduce its size as you approach the outline.
- Recover mistakes. Switch to white to reveal any parts hidden accidentally. If black paint appears on the photo, stop: you probably selected the image layer instead of the mask.
- Refine the transitions. Adjust brush hardness and opacity to suit the edge. A mug needs well-defined contours; hair, fabrics and transparent areas require a different approach, with more careful selections and refinement.
- Check the cutout. Temporarily try light and dark backgrounds to spot halos. Then review the composite at normal size: a technically clean edge cannot compensate for incompatible lighting.
For complex cutouts, combine the selection tools with the Refine Brush before finishing the mask. Do not expect automatic perfection with glass, stray hair or reflections. AI can provide a useful starting point; human review still determines whether the result looks natural.
Which AI tools are included and what not to expect
PaintShop Pro 2023 includes tools such as AI Denoise, AI Upsampling, AI Artifact Removal, AI Portrait Mode and AI Background Replacement. These help, respectively, with noise, enlargement, compression artifacts, background blur in portraits and background replacement. Style transfer is also available for artistic effects.
Not all of these originated in 2023. Among that edition's new features, Corel highlights AfterShot Lab, focus stacking, improvements to the Frame tool and blend mode previews. It is worth distinguishing the version's new features from the inherited tools that remain available.
Above all, this AI is not equivalent to Photoshop's Generative Fill. Reducing noise or separating a person from their background is different from generating content through text prompts. Corel advertises Vision FX as a separately purchased generative art add-on; it should not be assumed to come with a standard PaintShop Pro 2023 license.
Use these features with a simple principle in mind: compare the result with the original photograph and its intended use. Enlarging an image may improve the appearance of a small picture, but it does not verify real details that the camera never captured. In catalogs, documents or informational images, preserving accuracy matters more than achieving a spectacular finish.
HDR, stacking and batch processing: three different problems
HDR combines photographs taken at different exposures to represent a high-contrast scene. Focus stacking combines shots focused at different distances to increase the area that appears sharp. They are not interchangeable: one sequence changes exposure; the other changes focus.
To photograph a small object, use a tripod, stable lighting and several shots that cover its depth. Stacking can help you keep more areas sharp, but you need to inspect outlines and any movement. For interiors with bright windows, a sequence of exposures may be more appropriate. No combination automatically fixes poorly aligned shots or subjects that change too much.
Batch processing addresses another need: repetition. First test a recipe on a few images, using a separate destination folder. Then process the full set. Settings such as size and format are easy to automate; an aggressive exposure correction applied indiscriminately can ruin photographs that were already fine.
If you prepare photographs for a store, create a template with consistent margins. Test a light-colored product and a dark one; you will spot contrast problems before processing every image in the catalog.
Exporting properly: the project is not the deliverable
Always save the editable document before creating final files. To distribute copies, you can use Save Copy As and adjust the format options. If you need to reduce dimensions or sharpen specifically for an output, work on a duplicate so you do not lose the main project's resolution.
- JPEG: suitable for web photographs and everyday sharing. Adjust compression while watching the details; repeatedly saving over a JPEG can accumulate quality loss.
- PNG: useful when you need transparency, graphics or clean text edges. Do not assume it will produce the smallest file for a full photograph.
- TIFF: commonly used to exchange high-quality images. Confirm the color depth, compression, profile and whether a flattened image is required with the recipient.
- PSPIMAGE: preserves your project in the editor's native format. It is not a substitute for a universally usable deliverable if the recipient uses another program.
For the web, prepare the pixel dimensions the page actually needs and use an appropriate color space, usually sRGB. Converting to the correct profile is not the same as assigning another profile without transforming the colors. Check the exported image in a different viewer, including its transparency where applicable.
For printing, ask the lab about dimensions, resolution and profile. Entering “300 ppi” does not create detail: an image 3000 pixels wide allows approximately ten inches at that density. Check for sensitive metadata, such as location, before sharing as well. Exporting ends when you verify the resulting file, not when the dialog box disappears.
Photoshop compatibility: test the round trip
PaintShop Pro supports PSD import and export, and Corel advertises compatibility with Photoshop brushes and certain plug-ins. This makes it easier to exchange resources, but it is not a guarantee of complete equivalence. Opening a document and seeing a similar result does not prove that its elements retain the same editability.
Before replacing a tool, test a representative PSD containing text, masks, adjustments and the resources you actually use. Save a copy, reopen it in Photoshop and compare its appearance and structure. Pay particular attention to smart objects, specific effects, fonts and features that depend on services or extensions.
Photoshop actions and automations should not be assumed to transfer to PaintShop Pro scripts either. And a filter being 64-bit is not enough: check that its manufacturer confirms compatibility with the editor and version. For collaborative work, a flattened TIFF plus the original project can be a sensible deliverable if both parties agree.
If you work alone and deliver final JPEG, PNG or TIFF images, these differences may matter little. If a client requires an editable PSD with a precise structure, they are part of the assignment. License savings are only worthwhile when they do not compromise that obligation.
Buying a second-hand license wisely
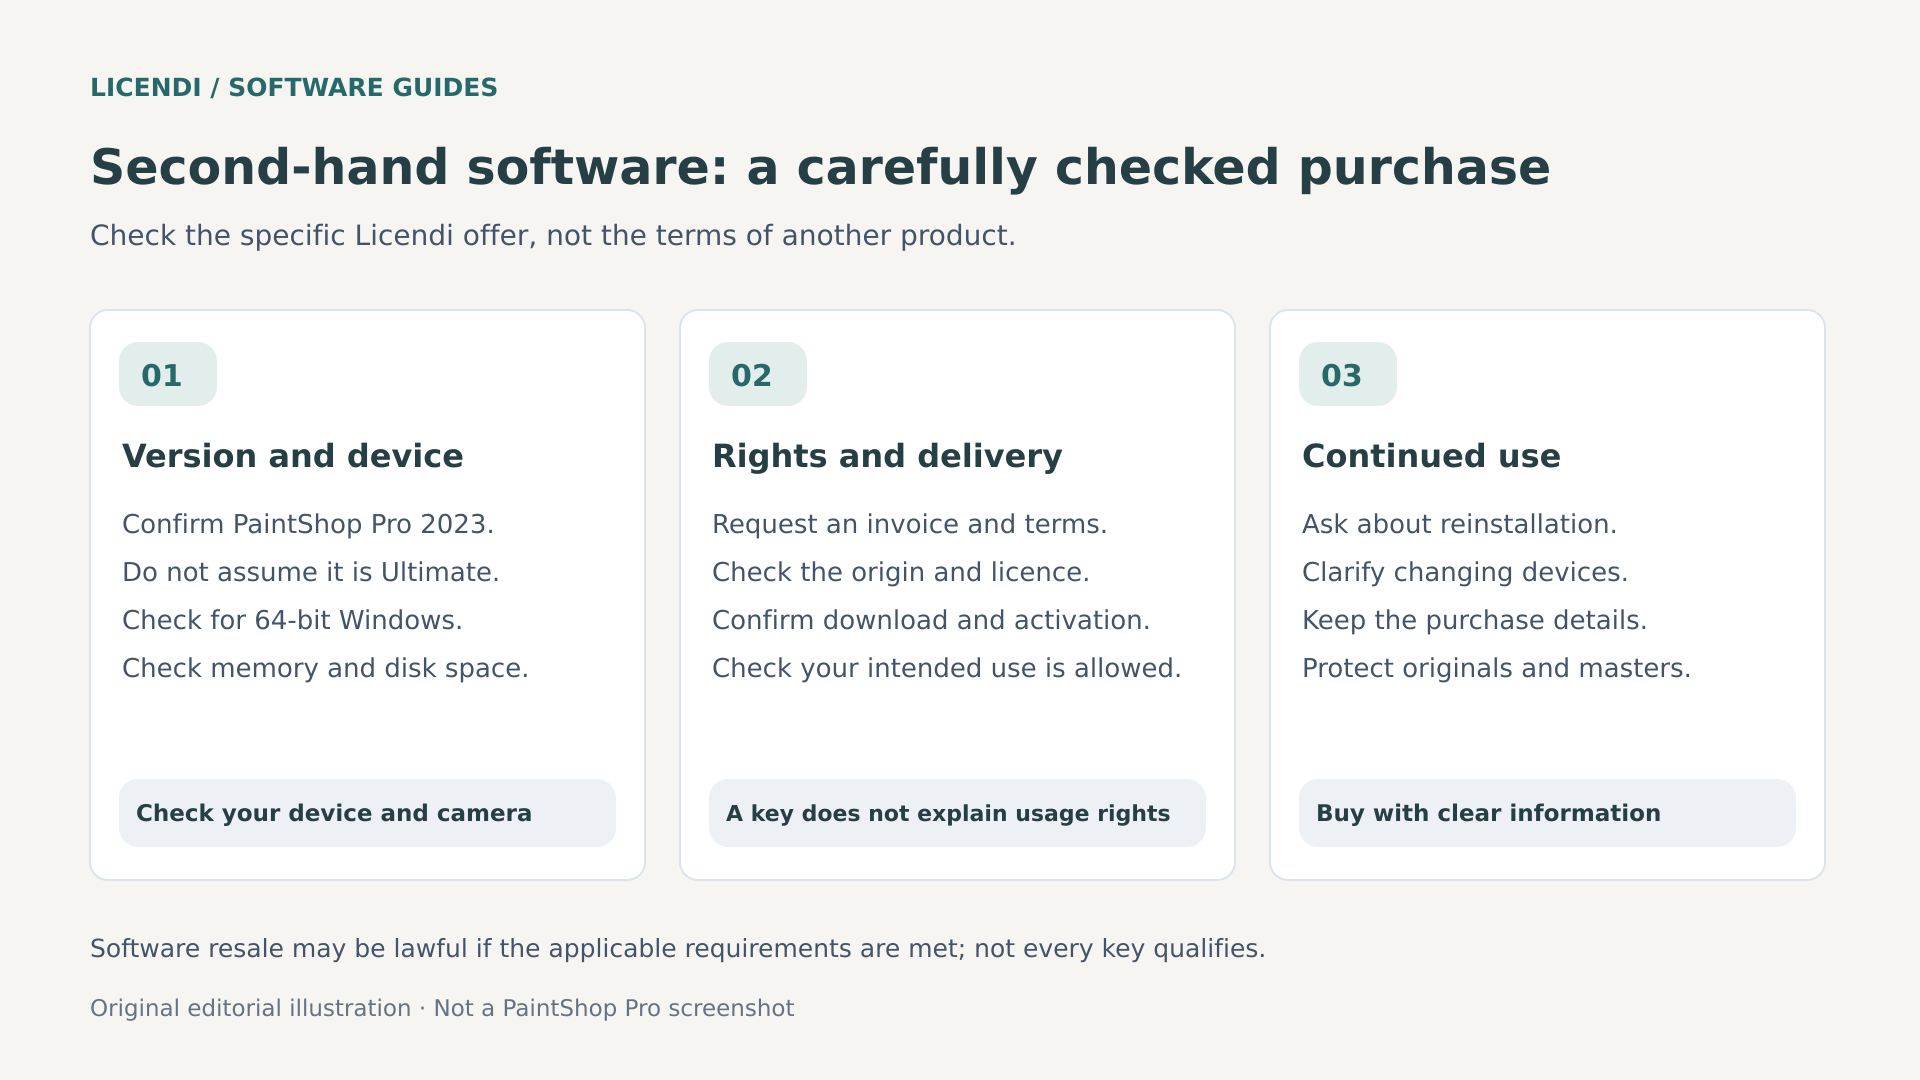
The secondary market allows software usage rights to be purchased under certain conditions. In the European Union, the UsedSoft v Oracle judgment recognizes exhaustion of the distribution right in certain circumstances involving licenses of unlimited duration, including those supplied by download. It does not declare every key offered for sale lawful.
Relevant factors include the first marketing in the EU by the rights holder or with their consent, the corresponding payment, the duration of the right and the previous purchaser making their copy unusable when reselling it. The judgment also does not authorize arbitrarily splitting a multi-user license to resell part of it. Documentation of provenance matters; successful activation does not, by itself, prove that all these requirements have been met.
When considering buying PaintShop Pro 2023 from Licendi, keep the invoice and confirm the terms applicable to that specific license. The listing describes a one-time purchase, no subscription, one Windows device and digital delivery. Check whether your intended use, professional or personal, is authorized and what conditions govern a possible transfer. Each offer must be assessed on its own terms, not those of another product.
Also ask about the procedure if you change computers, the documentation available and assistance with installation problems. These are practical questions worth resolving before payment. This summary offers purchasing guidance, but it does not replace a legal analysis of a specific transaction.
Four common mistakes and how to resolve them
The adjustment changes more areas than intended
Before repeating the adjustment, look at its position in the palette. It may be affecting several layers below when you only wanted to modify one. Reorganize the document or use a group to limit its scope. If you only need to brighten a face, work with an appropriate selection or mask rather than increasing the exposure of the entire scene.
The cutout looks pasted onto the background
Check three things: the direction of the light, color temperature and shadow hardness. An object lit from the left will not fit convincingly into a scene lit from the opposite side. Adjusting these relationships is often more important than softening the outline even further. Do not remove contact shadows entirely: they help ground the product visually.
The exported photograph has strange colors
Check the document's profile and save options before increasing the image's saturation again. Compare the file in color-managed applications and remember that an uncalibrated screen can introduce differences. For a commercial deliverable, agree on a profile with the recipient and keep a reference copy. Correcting by eye for each device eventually produces conflicting versions.
The computer slows down with many layers
Close unnecessary documents, check the free space and avoid creating huge duplicates without a purpose. Save versions of the project at important stages so you can return to them. Do not flatten all the layers on impulse: you will reduce flexibility and may later discover you need to change some text. If you are preparing a lightweight deliverable, do so in a copy, keeping the editable document intact.
These problems are rarely solved by adding more filters. Usually, it is better to take a step back, review the structure and change one variable at a time. A clearly organized edit will still make sense when you return to the file weeks later, without remembering why you made every decision.
A straightforward decision after a real-world test
PaintShop Pro 2023 deserves a place on your shortlist if you need to edit photographs on Windows, work with layers and keep license costs predictable. Its proposition is especially attractive when you control the entire process and deliver finished images. The mask, RAW development and export tutorials cover needs that arise far more often than the showiest features in any advertisement.
The choice changes if you need integrated text-prompt generation, strict compatibility with complex Adobe documents or guaranteed support for a recent camera without checking it first. It is not a matter of one program always being better: each addresses different priorities.
Before buying, open your files, create a composite and export a complete deliverable. If that process works for you, review the perpetual PaintShop Pro 2023 license from Licendi and its terms. Paying once can be a good decision; knowing exactly which version and rights you receive is what makes it a sound purchase.
Official sources and documentation
- Corel: PaintShop Pro 2023 features, formats and system requirements.
- Corel: contents of the PaintShop Pro 2023 Ultimate bundle.
- Corel: official PaintShop Pro 2023 user guide.
- Corel: list of supported cameras and RAW files.
- Adobe: Photoshop plans and subscription questions.
- Adobe: Generative Fill features in Photoshop.
- CJEU: explanation of the UsedSoft v Oracle judgment, Case C-128/11.