EN
 FR
 DE
 IT
 PT
 ES


Wise Data Recovery Pro: How to Recover Deleted Files Step by Step
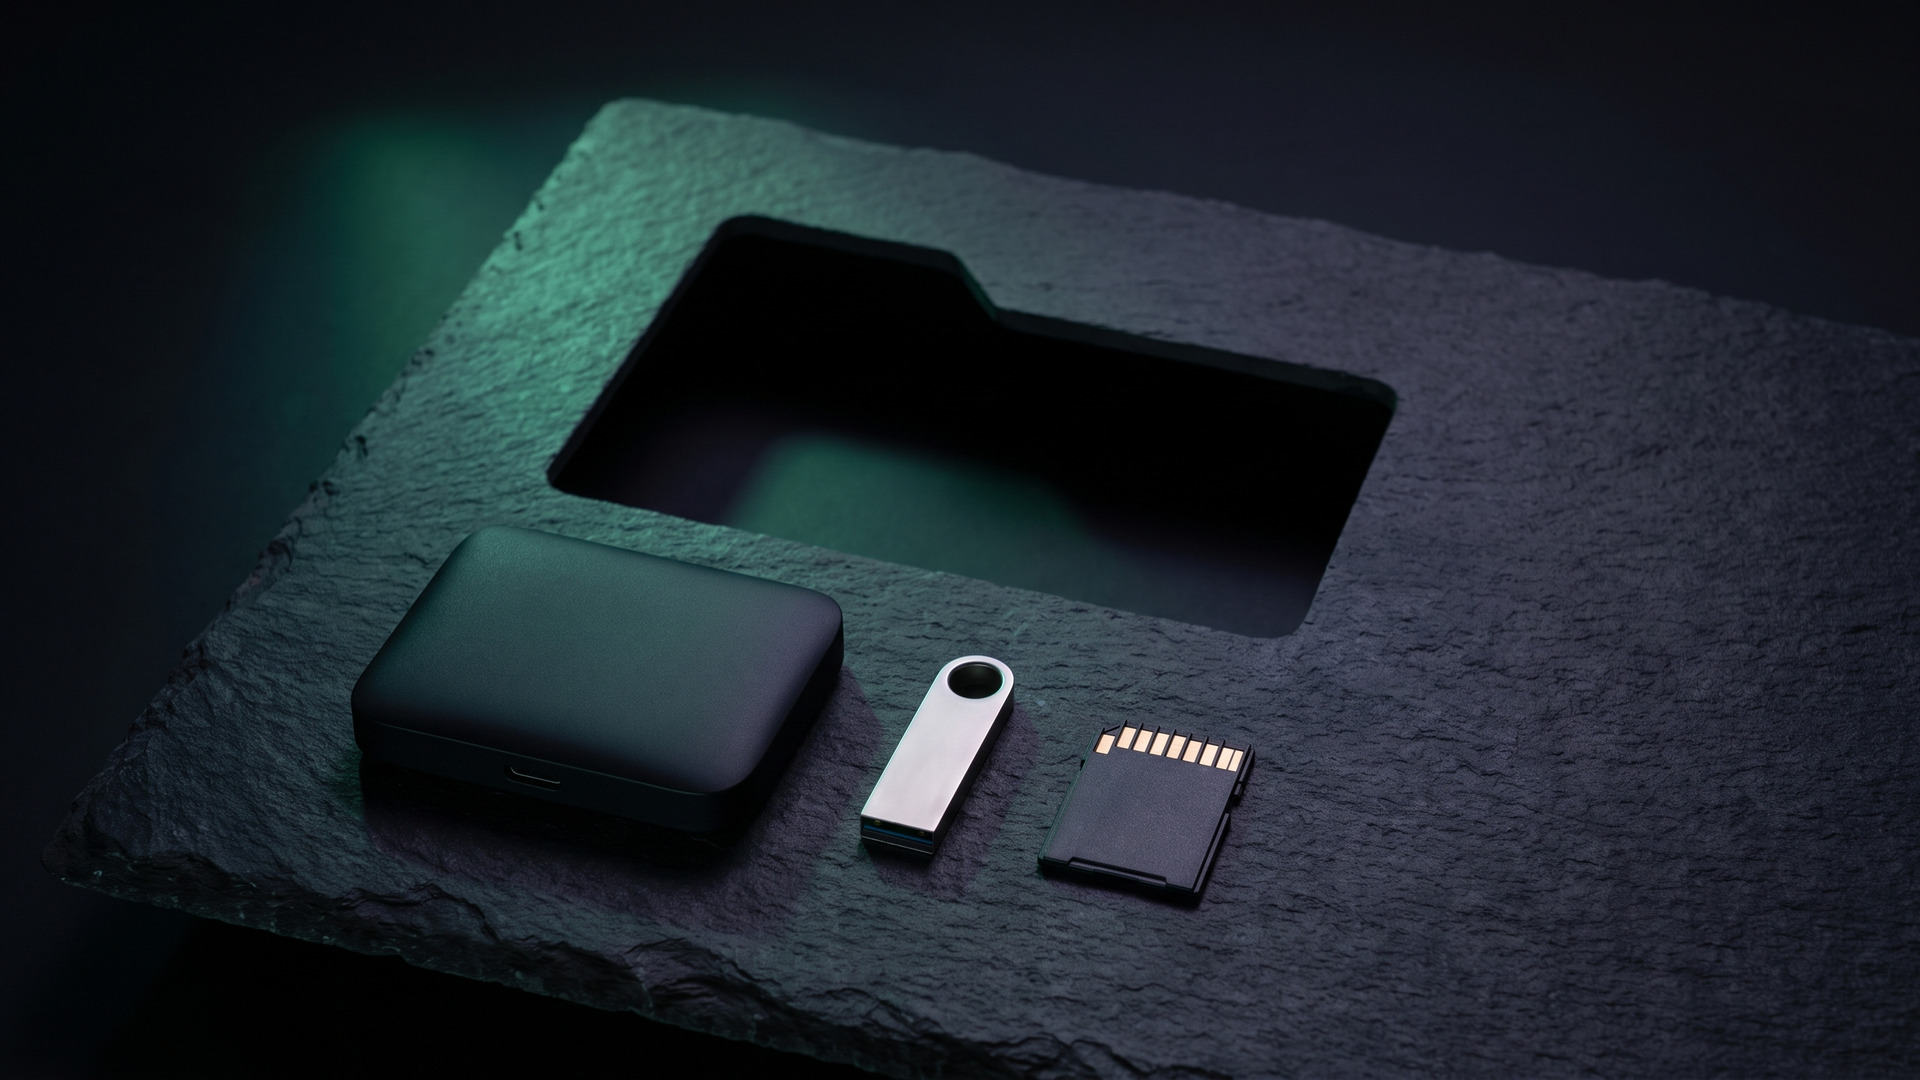
A deleted file creates an urgent problem, but frantic activity is often the worst response. Installing several recovery apps, downloading replacements, running a cleanup tool or continuing to work can overwrite the very data you want back. The first useful action is usually to stop writing to the affected device. Only then should you begin a controlled recovery attempt.
This Wise Data Recovery Pro tutorial explains that process from beginning to end. You will learn how to assess the device, prepare the software without installing it on the source, run the current comprehensive scan, narrow a large result set, preview likely candidates and restore selected files to a different physical drive. It also explains why SSDs with TRIM are difficult, when software should not be used at all, and what the Free and Pro editions actually change.
No recovery program can promise that a deleted file will return intact. Results depend on what happened after deletion, the storage technology, file fragmentation, metadata condition and hardware health. Treat every status label and preview as evidence to guide your choices, not as a guarantee.
What Wise Data Recovery Pro does
Wise Data Recovery is a Windows utility for logical data loss: files deleted normally, removed with Shift+Delete, cleared from the Recycle Bin or lost from accessible removable storage. It scans a drive that Windows can detect, presents possible files and lets you copy selected results elsewhere. As of the product information checked on 7 August 2026, Wise lists version 6.2.2 for Windows 7, 8 and 8.1, 10 and 11, in 32-bit and 64-bit editions. Specifications can change, so confirm the current download and requirements before installing.
The program can work with internal hard drives and SSDs, external hard drives, USB flash drives, memory cards, floppy disks and storage exposed by some cameras or other removable devices. That does not mean every connected device is scannable. A modern phone using MTP, encrypted internal storage or a vendor-specific connection may appear in File Explorer without exposing a normal block device that recovery software can scan.
Wise advertises support for more than 1,000 file types, including common Office documents, PDFs, photographs, RAW image formats, video, audio, email data and archives. Its current materials also advertise FAT, exFAT, NTFS, HFS, HFS+, HFSX, Ext2 and Ext3 support, although individual Wise pages do not always show the same complete list. Windows must still detect the source, and support for a file system does not overcome overwritten data, unavailable encryption keys or physical damage.
Before recovery: stop the source from changing
Deleted data is not placed in a protected waiting room. On many hard drives, the file system first marks its records and occupied space as available. The content may remain readable until new writes reuse those areas. Ordinary background activity can therefore matter: browser caches, Windows updates, application logs, cloud synchronisation, antivirus activity, temporary files and the pagefile can all write without an obvious Save command.
1. Stop normal use immediately
Do not download, copy, install, update, optimise, defragment or clean the affected drive. Do not initialise or format a device because Windows says it needs attention. Avoid CHKDSK and file-system repair before recovery; a repair tool is designed to make the file system consistent, not to preserve every trace of deleted data. If the loss occurred on the Windows system drive, shut down as soon as practical because simply leaving Windows running creates writes.
2. Check the easy, non-destructive options
Look in the Recycle Bin, your cloud service's deleted-items and version-history areas, File History, other backups, email attachments and application autosave folders. Restore from those sources when possible. They are usually safer and more complete than carving deleted content from a disk. Wise 6.2.x can also scan Recycle Bin data, but the normal Recycle Bin restore command is the simpler first choice when the file is still present there.
3. Prepare the recovery program elsewhere
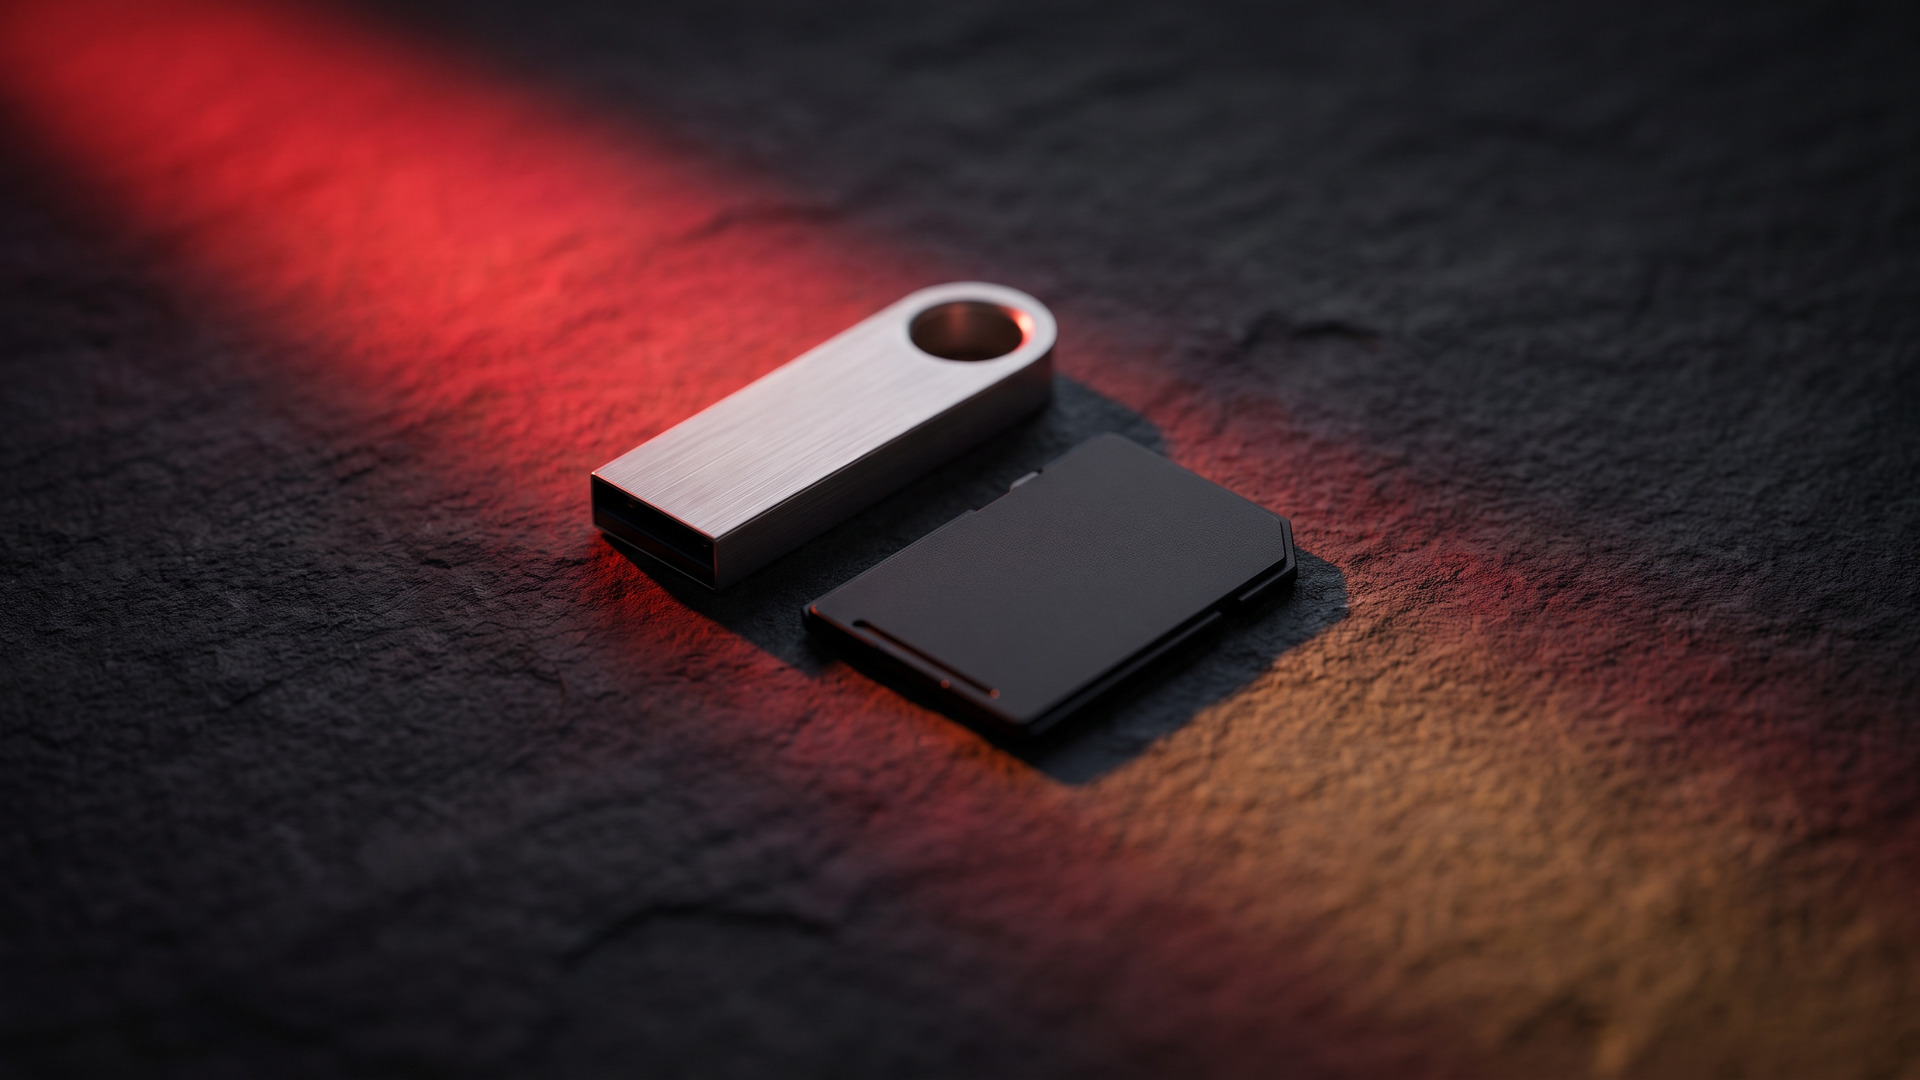
If the deleted files were on drive C:, installing Wise onto C: creates exactly the kind of writes you are trying to avoid. Wise recommends obtaining its portable edition on another computer, copying it to a USB flash drive and running it from that external device. Prepare the USB before connecting it to the affected computer if possible. If you must use an installed edition, place it on a different physical drive rather than another folder or partition on the source disk.
4. Prepare a separate destination
You need enough free space on a second physical device for the files you plan to recover. A partition with another drive letter is not necessarily another device: C: and D: may be partitions on the same SSD. An external HDD, a second internal disk or another adequately sized USB device is safer. Keep the program USB and recovery destination separate when practical, especially if the output could be large.
5. Decide whether a software scan is proportionate
For a stable USB stick containing replaceable photos, a careful scan may be reasonable. For the only copy of company accounts on a drive that disconnects every few minutes, experimentation is much riskier. The value of the data, the health of the hardware and whether you can accept further loss should determine the next move. If professional recovery may be needed, stopping early preserves more options.
Supported media and realistic expectations
| Source or situation | Reasonable expectation | Important limitation |
|---|---|---|
| Healthy HDD, recent deletion | A useful software-recovery candidate if use stopped quickly | New writes and fragmentation can make files incomplete |
| USB flash drive or SD card | Scannable when Windows exposes stable accessible storage | Controller failure, reuse and formatting reduce the chances |
| SSD | Worth assessing promptly when the device is healthy | TRIM may deallocate deleted blocks before software can read them |
| Phone or camera | Possible if storage appears as a compatible accessible device | MTP, encryption and proprietary interfaces can prevent scanning |
| Clicking or unstable drive | Stop and obtain specialist advice | A full scan can worsen physical failure |
File names and folders may be recovered through file-system records, while other candidates may be identified by content patterns. A result with its original name and path is easier to recognise, but that metadata does not prove the file's content is intact. Conversely, signature-based results can lose their original names and organisation. Large or fragmented files are particularly vulnerable because some pieces may already have been overwritten even when other pieces remain.
Do not infer unsupported capabilities from broad marketing language. This guide does not assume RAID reconstruction, APFS recovery, recovery without encryption keys, universal phone support or repair of physically damaged media. Wise can be useful within its intended scope, but the storage must be readable enough for Windows and the application to access it.
How to recover deleted files with Wise Data Recovery Pro
The following workflow is deliberately cautious. It follows the current Wise 6.x manual, which describes one automatic comprehensive scan after selecting a drive. Some still-live documentation uses older Quick Scan and Deep Scan labels; the difference is explained after the tutorial.
Prepare the portable program and destination on another computer. Download or extract the portable Wise Data Recovery files away from the affected disk. Put them on a clean USB drive. Prepare a second physical drive with enough capacity for the recovery output. Do not create folders, resize partitions or clear space on the source.
Connect removable source media before launching Wise. If the lost files were on an external HDD, USB stick, SD card or camera card, connect it first and wait for Windows to detect it. Cancel prompts to format, initialise or repair it. If it disconnects repeatedly or makes abnormal noises, end the attempt rather than forcing repeated scans.
Run Wise from the safe location. Open the portable executable from the prepared USB device, or launch an installation located on another physical disk. Minimise other applications. On a system-drive recovery, avoid web browsing, downloads and routine work while the scan runs because those activities generate writes to the source.
Identify the correct source drive. Compare the drive letter, volume label, capacity and device identity. Do not select the destination by mistake. For removable media, capacity is often a better clue than a familiar letter because Windows can assign a different letter after reconnection. If the expected device is absent, close Wise, reconnect it safely and relaunch the program.
Select the source and begin scanning. In the current manual, choosing the drive starts a comprehensive scan automatically. The interface shows progress and an estimated remaining time, and it can allow pausing or stopping. Let the scan complete when the hardware is healthy and the required files have not appeared clearly. Stopping early can leave relevant areas unexamined.
Read the result structure before selecting everything. Browse original paths and file-type groupings. Results under a familiar folder with recognisable names are convenient, while files found through deeper content analysis may appear in generic groups and need more inspection. Do not recover the entire result set merely because it is available; duplicates, temporary files and damaged fragments can consume significant destination space.
Use keyword search. Search for a distinctive part of the file name, client name, project code or extension. Try shorter terms when an exact name returns nothing, because metadata may be incomplete or the recovered candidate may have a generated name. Search is a triage tool: an absent name does not necessarily mean the content is absent.
Filter by type, size and modified date. Narrow thousands of results to the period and format that fit the missing item. A photograph may be easier to locate by image type, approximate date and plausible file size. For a document, filter by extension and then compare dates and paths. Be careful with modified dates: damaged or signature-based results can have missing or unreliable metadata.
Use recoverability labels as priorities, not verdicts. Wise documentation describes Good, Poor, Very Poor and Lost. Good suggests the program expects recovery to be possible; Poor means probably recoverable; Very Poor indicates difficulty; Lost indicates that recovery is not expected. Interface wording can vary by build or language. Even a Good candidate may be corrupt, and a label cannot confirm every byte.
Preview representative candidates. Right-click and choose Preview, or double-click where supported. Wise documents previews for common formats, with pictures, Microsoft Office documents and text files specifically identified in its menu guidance. A readable preview helps distinguish the correct file from a duplicate. It is not a full integrity test: a video may preview its opening but fail later, and a document may contain damaged pages or embedded objects.
Select a small, high-priority batch first. Start with irreplaceable files and the strongest candidates. Recovering in batches makes it easier to verify output, notice destination-space problems and refine filters. If several versions share the same name, include plausible alternatives rather than assuming the newest timestamp is correct.
Click Recover and choose a different physical drive. Browse to the prepared destination, not another folder on the source and not another partition on the same physical disk. Confirm the destination has adequate free space. The objective is to copy readable content away without allowing recovery output to overwrite candidates that have not yet been processed.
Validate the recovered copies. Open documents and inspect multiple pages. View photographs at full size rather than trusting thumbnails. Play videos and audio from several points, including near the end. Test archives where appropriate. Keep notes about missing or damaged files, then return to the result set for alternative versions or broader filters.
Preserve the source until recovery is genuinely finished. Do not format, repair or return the device to service after the first successful copy. Confirm that all required files have been checked, duplicate the recovered set to another safe location and include it in a backup. Only then decide whether the source should be tested, erased, replaced or reused.

Quick Scan, Deep Scan and the current comprehensive scan
Wise's documentation contains a real version conflict, so a tutorial should not pretend every reader sees the same buttons. Older guidance describes Quick Scan as the first pass through file-system information and Deep Scan as a more extensive search that can expose additional signature-based results. Some current FAQ and how-to pages still use those two names.
However, the Wise Data Recovery 6.0.2 release notes from 2022 say Quick Scan and Deep Scan were combined into one. The current local-drive and external-device manuals now say that selecting a drive launches a comprehensive scan automatically. That combined workflow is the appropriate main path for a current 6.x guide.
Wise 6.2.2 can save the latest scan result and offer to reload it when the same drive is scanned again. Earlier 6.x releases also introduced scan-report import and export. These features can save time, but a report is only a catalogue of what a previous scan saw. It does not preserve the deleted sectors. Reload an old result only if the source has not changed, and continue to keep the device idle.
SSD and TRIM: the most important limitation
On a conventional HDD, deleting a file often removes or changes file-system references before the magnetic content is overwritten. That delay can create an opportunity for recovery. An SSD works differently. Windows and compatible file systems can send a TRIM notification telling the storage device that deleted blocks are no longer needed. The SSD controller may then purge or recycle them internally.
This can make SSD recovery fail even when you did not deliberately save a new file. The timing is not identical on every system. It depends on the operating system, file system, controller, firmware, connection and whether the command reached the device. It would therefore be wrong to say that every SSD deletion is instantly permanent. It is equally wrong to assume that a quick scan can retrieve the blocks before TRIM acts.
Do not respond by disabling TRIM after deletion and expecting a rescue. The notification may already have been sent, and changing settings or continuing to boot Windows can create more writes. Stop using the affected SSD as quickly as practical. If the content is uniquely valuable, seek specialist advice before repeated software scans. Wise supports scanning SSDs, but support describes device compatibility, not a promise that deallocated content remains available.
How to improve the chance of a usable recovery
- Act promptly but methodically. Fast shutdown and preparation elsewhere are more useful than hurried installation on the source.
- Minimise writes. Keep Windows activity, sync clients, browsers, downloads, updates and maintenance tools away from the affected disk.
- Use a stable connection. Connect external media directly with a reliable cable or reader. Repeated disconnects are a warning, not an invitation to retry indefinitely.
- Allow enough destination space. A nearly full output drive can interrupt recovery and tempt you to write somewhere unsafe.
- Prioritise valuable files. Recover the most important, best-looking candidates first instead of generating a huge unverified dump.
- Inspect several versions. One copy may be damaged while an older, differently named or signature-found candidate remains usable.
- Validate beyond the preview. Check complete documents, full-resolution images, archive tests and playback near the end of media files.
- Keep the original untouched. A first attempt may miss files. Preserve the source until you have confirmed and backed up the recovered set.
Fragmentation matters as well. A small recently deleted text file may occupy a compact area, while a large video can be spread across many locations. If only some extents remain, the program might create a file with the expected name and size that still freezes or refuses to open. Recovery success should be judged by the recovered content, not by the number of items listed after scanning.
Wise Data Recovery Free vs Pro
Wise says the Free edition can recover up to 2 GB, or 2,000 MB, cumulatively. Pro removes that recovery-volume limit. The available documentation reviewed for this guide does not establish that Pro scans more deeply, uses a superior recovery algorithm or finds files the Free scanner cannot see. The defensible reason to choose Pro is that you need to recover more than the Free allowance and want the applicable licensed features and support.
| Option | Recovery volume | Licence context |
|---|---|---|
| Wise Data Recovery Free | Up to 2 GB cumulatively under current Wise documentation | Useful for a limited recovery attempt |
| Wise direct Pro terms | Pro removes the Free volume barrier | Wise currently documents standard direct Single Solution and Family Pack terms as annual |
| Licendi marketplace offer | Unlimited recovery volume under the current listing | Currently advertised as Wise Data Recovery Pro for one device with a lifetime licence |
Licendi's marketplace currently lists a one-device lifetime Wise Data Recovery Pro licence, with unlimited recovery volume and listing-specific update and support terms. That is Licendi's current SKU offer, not a statement that every Wise Pro licence sold directly by Wise is lifetime. Wise's standard direct documentation currently describes annual terms. Price, stock, activation conditions, update entitlement and commercial terms may change, so read the product page at purchase time.
If you are preparing a recovery workstation rather than solving one isolated deletion, Licendi also groups related PC tools and optimisation software. Do not run cleaners, optimisers or defragmentation against the affected source before recovery. For a rebuilt computer, you can review legitimate Windows licences after the files are safe; operating-system installation should never be performed on a source that still contains unrecovered data.
Common problems during recovery
The source drive does not appear
For removable media, connect it before opening Wise, then relaunch the application. Try a known-good port, cable or card reader without repeatedly power-cycling an unstable drive. Check whether Windows Disk Management detects the correct capacity, but reject prompts to initialise or format. A device that does not remain detected may have a hardware, enclosure or controller problem beyond a normal file scan.
The missing file is not in the results
Let the comprehensive scan finish, broaden date and size filters, search shorter name fragments and inspect file-type or generic result groups. If your actual installed version exposes separate modes, use the deeper option after the quicker pass. An absent result can also mean metadata and content were overwritten, TRIM deallocated the blocks, the device or file system is unsupported, or encryption prevents access.
The recovered file will not open
A file name and folder entry can survive while some content is damaged. Try another candidate, including an older version or one listed without the original name. Test the file in its normal application and, where appropriate, a reputable format-specific repair workflow on the recovered copy. Never attempt repair on the source. A preview that worked is encouraging but does not prove the full output is intact.
The destination is running out of space
Stop and prepare a larger different physical drive. Do not redirect the remaining output to the source. Recover a smaller high-priority selection, validate it, and estimate what the wider result set will require. Remember that selecting every found item may include duplicates, temporary data and fragments whose total is much larger than the files you actually need.
The scan becomes extremely slow or the drive disconnects
Normal scans can take time, but severe slowdown, I/O errors, clicking and repeated disappearance suggest instability. Do not keep restarting a full scan. Stop, document what happened and consult a specialist if the data matters. Software that is appropriate for a healthy readable disk is not a substitute for controlled imaging and hardware work in a recovery laboratory.
Frequently Asked Questions
Can Wise Data Recovery recover permanently deleted files?
It can sometimes recover files removed from the Recycle Bin or otherwise marked as free space when enough metadata and content remain readable. It cannot restore blocks that have been overwritten, purged by storage management such as SSD TRIM, or made inaccessible by serious physical failure. Stop using the source promptly and treat recovery as a possibility rather than a guarantee.
Should I install Wise Data Recovery on the drive that lost the files?
No. Installation writes can overwrite deleted data on the same drive. Prepare the portable edition on another computer, copy it to a USB device and run it from there. If installation is unavoidable, use a different physical disk, not merely another folder or partition on the affected device.
Where should I save recovered files?
Save them to a different physical drive with sufficient free space. Another partition or folder on the source is unsafe because it still writes to the same medium and may overwrite files you have not recovered. Validate the copies at the destination and keep the source untouched until the work is complete.
Does Wise Data Recovery still have Quick Scan and Deep Scan?
Wise's documentation is inconsistent. Its 6.0.2 release notes say Quick and Deep were combined, and the current manual describes an automatic comprehensive scan. Some official support pages still describe separate modes. Follow the labels in your installed build; if separate choices exist, start with Quick and use Deep when necessary.
Can Wise Data Recovery recover deleted files from an SSD?
Wise supports SSDs, but successful deletion recovery may be much less likely after TRIM. Windows can notify an SSD that deleted blocks are no longer needed, after which the controller may purge them internally. This is not always instantaneous, but you should stop using the SSD quickly and avoid claims that any tool can reverse TRIM reliably.
What do Good, Poor, Very Poor and Lost mean?
They are Wise's recoverability estimates. Good suggests recovery is expected to be possible, Poor means probably recoverable, Very Poor indicates difficulty and Lost means recovery is not expected. Use the labels to prioritise candidates, but verify the recovered files because none of these indicators guarantees complete, uncorrupted content.
Can I preview a file before recovering it?
Yes, supported candidates can be previewed by right-clicking and choosing Preview or by double-clicking in the current workflow. Wise specifically documents pictures, Microsoft Office documents and text files, alongside broader common-format preview support. A successful preview helps identify a candidate but is not a complete integrity test.
What is the difference between Wise Data Recovery Free and Pro?
Wise currently limits the Free edition to 2 GB of cumulative recovery, while Pro removes that volume barrier. The reviewed documentation does not show that Pro scans better. Wise's standard direct terms are annual, whereas Licendi currently advertises a one-device lifetime Pro SKU; check current price, stock and licence terms before purchase.