EN
 FR
 DE
 IT
 PT
 ES


How to Install Windows: Step-by-Step Guide
After purchasing a Windows licence, the installation process can feel daunting if you have not done it before. It is perfectly normal - installing Windows 10, Windows 11 or any other version takes a few deliberate steps, but once the process is underway, everything runs smoothly. This guide walks you through how to install Windows quickly and easily, with a video tutorial included below.
Windows Download
In our shop you can find and buy the Windows version that suits you:
Windows 10
Windows 11
Windows 7
Windows 8.1 Professional
IMPORTANT: To perform this installation, you need a stable internet connection and a USB drive with at least 8 GB of free space.
Follow the step-by-step guide below to learn how to install Windows on a new PC or on any computer. The same procedure applies to all supported versions.
Step-by-Step Guide to Installing Windows
The installation process may seem complicated at first, but here is a summary to make it straightforward.
Step 1 - Download Drivers
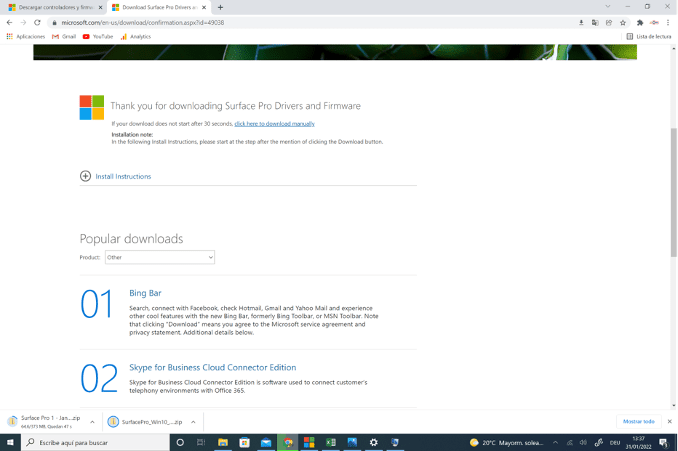
The first step is to download the drivers for your computer. Search the internet for your computer model followed by "download drivers". You can download them from the manufacturer website you trust most.
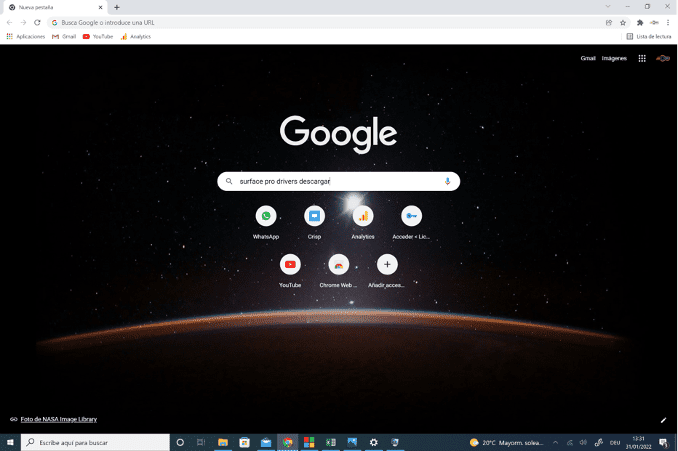
In this case, since it is a Microsoft computer model, we go to their site.

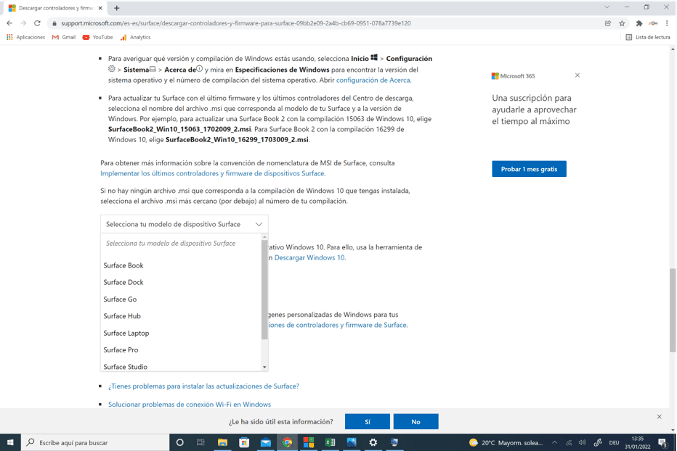
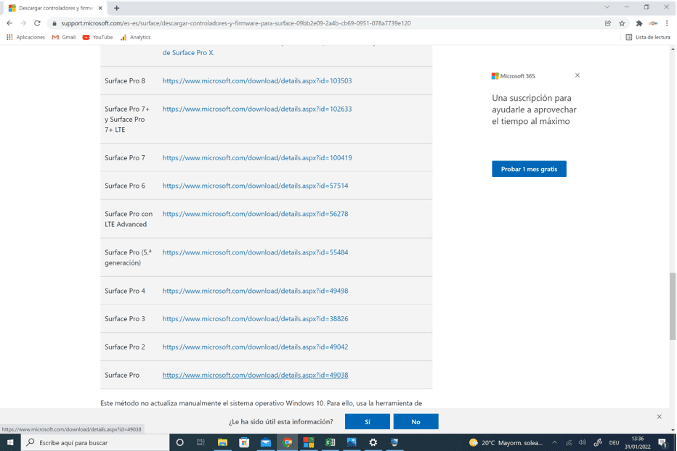
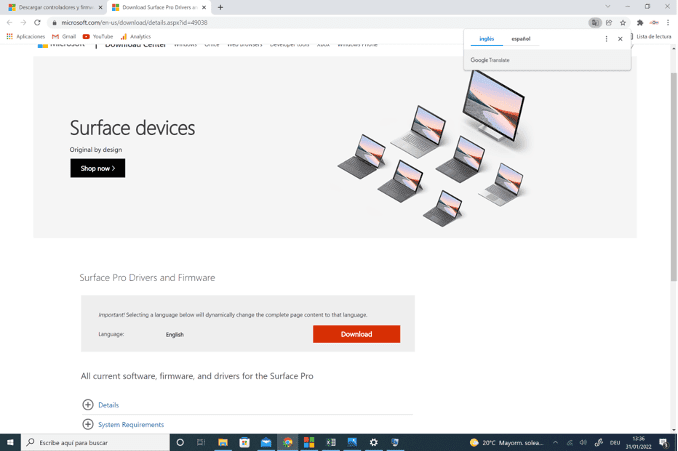
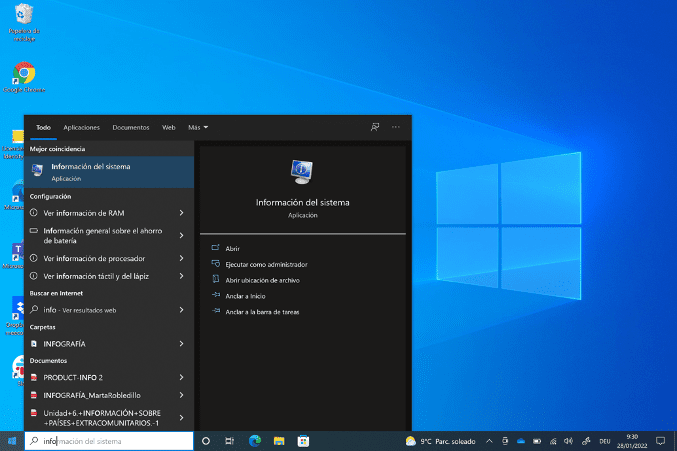
NOTE: To find out the name of your machine, check the system properties by going to Computer > Properties.
Step 2 - Download the Windows Installation Tool
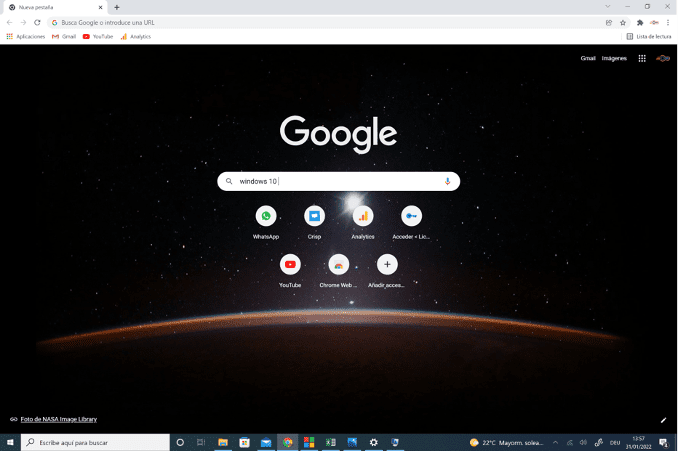
Once the drivers are saved, the next step is to download the Windows installation tool (for the version you wish to install). Search for "Windows 10" or "Windows 11" and click on the official Microsoft result.
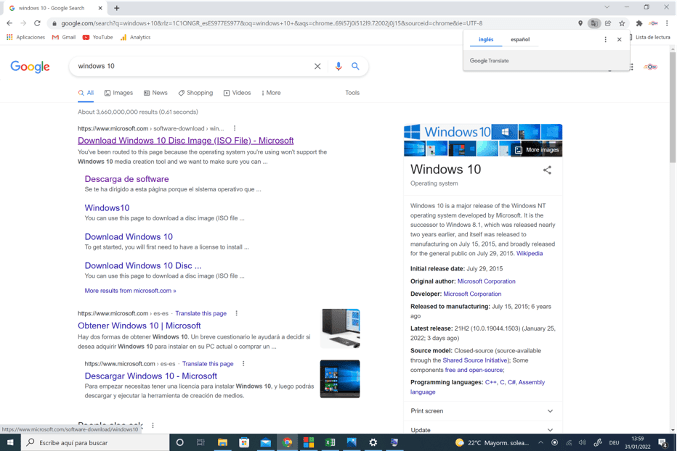
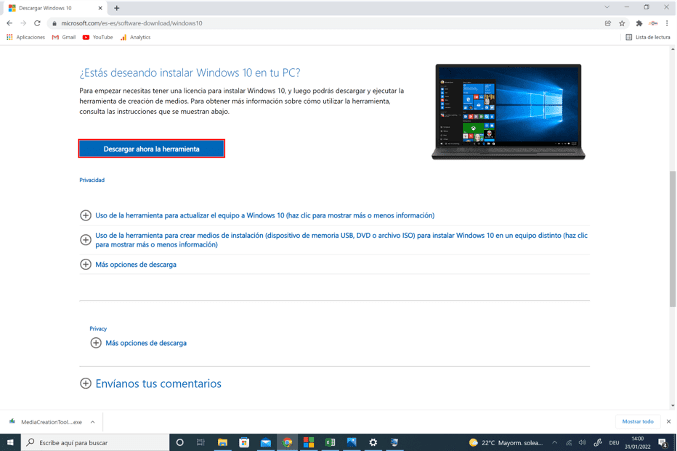
Click on the "Download tool" button on the page, accept the licence conditions and the download will begin.
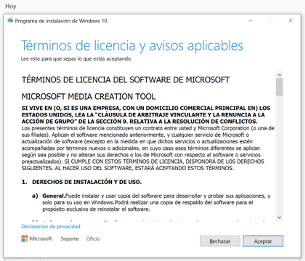
Click Accept on the applicable licence terms and conditions.
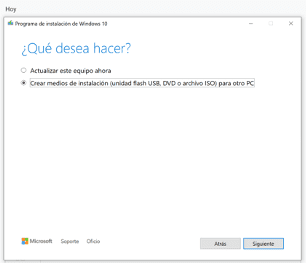
You will see two options. Choose the second option: "Create installation media".
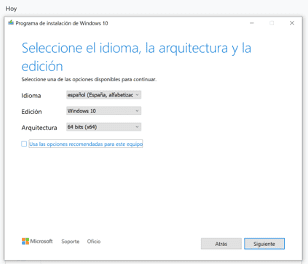
A window appears titled "Select the language, architecture and edition". Uncheck "Use the recommended options for this device", select your language (English), the edition (e.g. Windows 10 Pro) and set the architecture to "Both" so both versions are available when needed. Then click "Next".
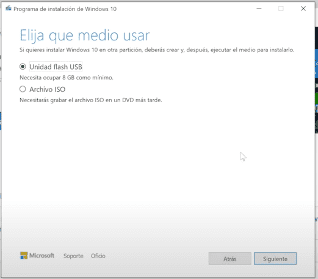
On the "Select the medium to use" screen, choose "USB flash drive" and insert your USB stick into the computer. Once the USB is recognised, click "Next". Make sure the USB is inserted before you click "Next". The installation process will begin.
NOTE: The USB stick must be empty and must not contain any important files.
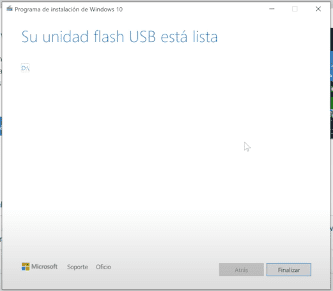
Once the download is complete, click "Finish" and close the window.
Step 3 - Install Windows on Your Computer
The next step is to install Windows on your PC. Search online for how to enter the UEFI or BIOS of your specific computer model. Typically, you press F2 or F10 immediately when the device powers on.
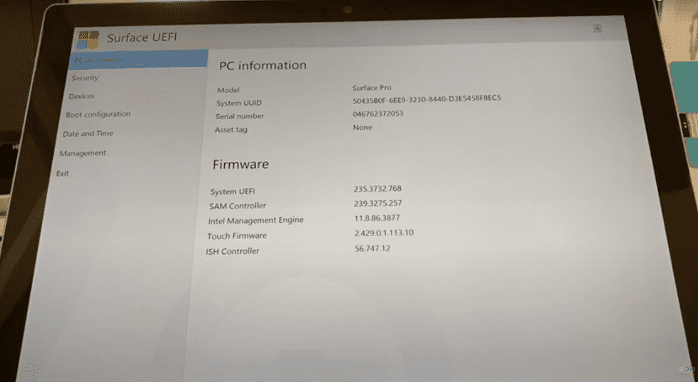
Next, look up how to change the boot order in your BIOS settings.
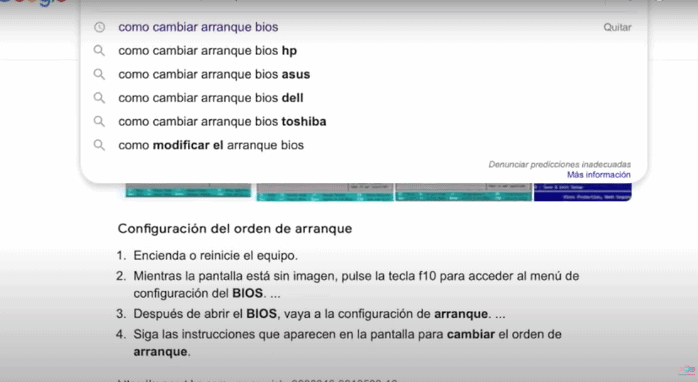
In this example, the steps are as follows:
Select "Start-up configuration".
Click on "USB memory" and drag it to the first position.
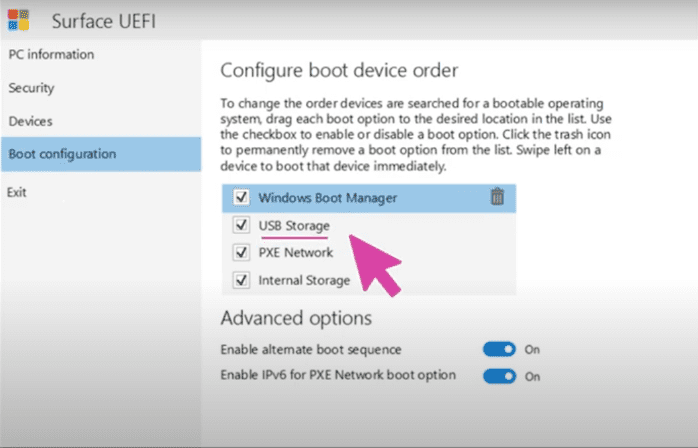
Click "Exit" then "Restart now".
When the computer restarts, the Windows installation menu will appear.
Enter the Product Key
At this step you will be prompted to enter your licence key. If you purchased your licence from Licendi, you will find this key in your email.
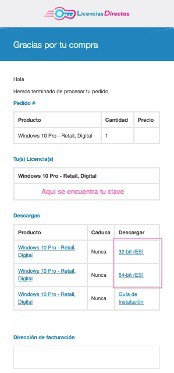
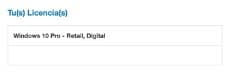
Accept the Microsoft Software Licence Terms and click Next.
Select where you want to install Windows and click "Next".
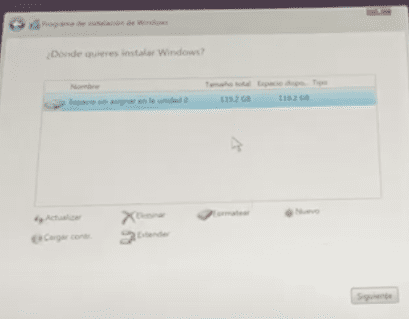
And that is it - Windows is installed.
After the installation, complete the initial setup: select your region, connect to Wi-Fi, create a PIN, etc.
Step 4 - Install the Drivers
Finally, install the drivers you downloaded earlier. Navigate to your files and unzip the driver folder.
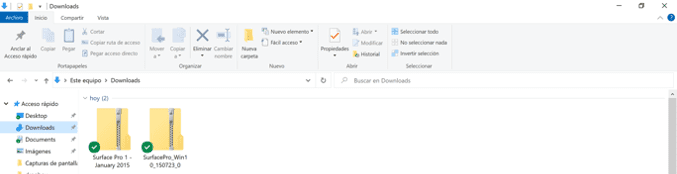
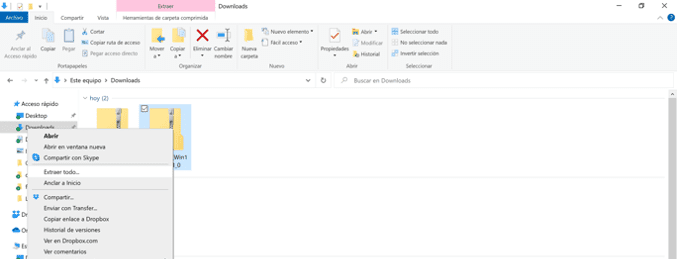
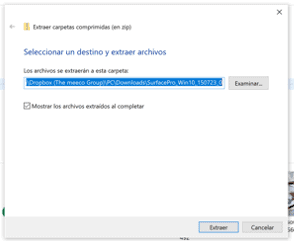
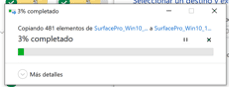
Extract the folder and move the extracted contents to your Downloads folder. You are now ready to go.
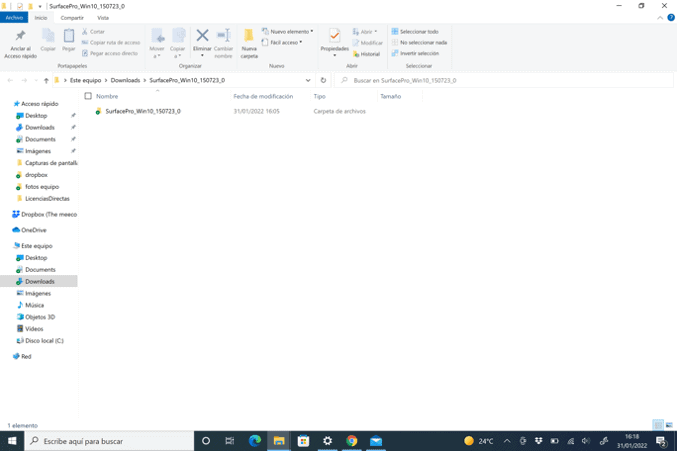
If you prefer a visual walkthrough, you can find our video tutorial here:
What You Should Keep in Mind
If you are a Licendi customer, you will find both your invoice and the licence transfer details in your email.
NOTE: A "Windows 10" key is not intended for upgrading or downgrading between "Home" and "Pro" editions. It only works when Windows is installed from scratch.
For more help choosing the right edition, see our guide on the differences between Windows 10 Home and Pro.
Did You Encounter Any Issues?
We Have an Activation Guarantee
You may have considered installing Windows without a genuine licence, but that can lead to missing features and security updates. At Licendi, we offer several guarantees: if your licence does not work, we replace it free of charge. Our licences must be activated within a certain time frame. If you have followed all the instructions and installed the file correctly but the licence does not activate the software, it is possible that the licence has expired.
In that case, please fill out the form in our help centre and send a screenshot of the error message. You will then receive a new licence for immediate activation.
Your licence gives you the right to download and use all available updates.
We are here for you,
The Licendi Team