Looking for a reliable way to protect your online privacy? NordVPN is one of the most trusted VPN services worldwide, offering military-grade encryption and access to over 5,500 servers in 60 countries. In this comprehensive guide, we will walk you through the complete installation process step by step.
Table of Contents
- What is NordVPN?
- Step 1: Create Your NordVPN Account
- Step 2: Activate Your License
- Step 3: Download the Application
- Step 4: Install and Connect
- Frequently Asked Questions
What is NordVPN?
NordVPN is a premium Virtual Private Network service that encrypts your internet connection and hides your IP address. This protects your personal data from hackers, allows you to bypass geo-restrictions, and ensures your online activities remain private.
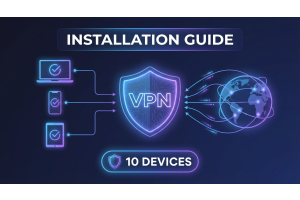
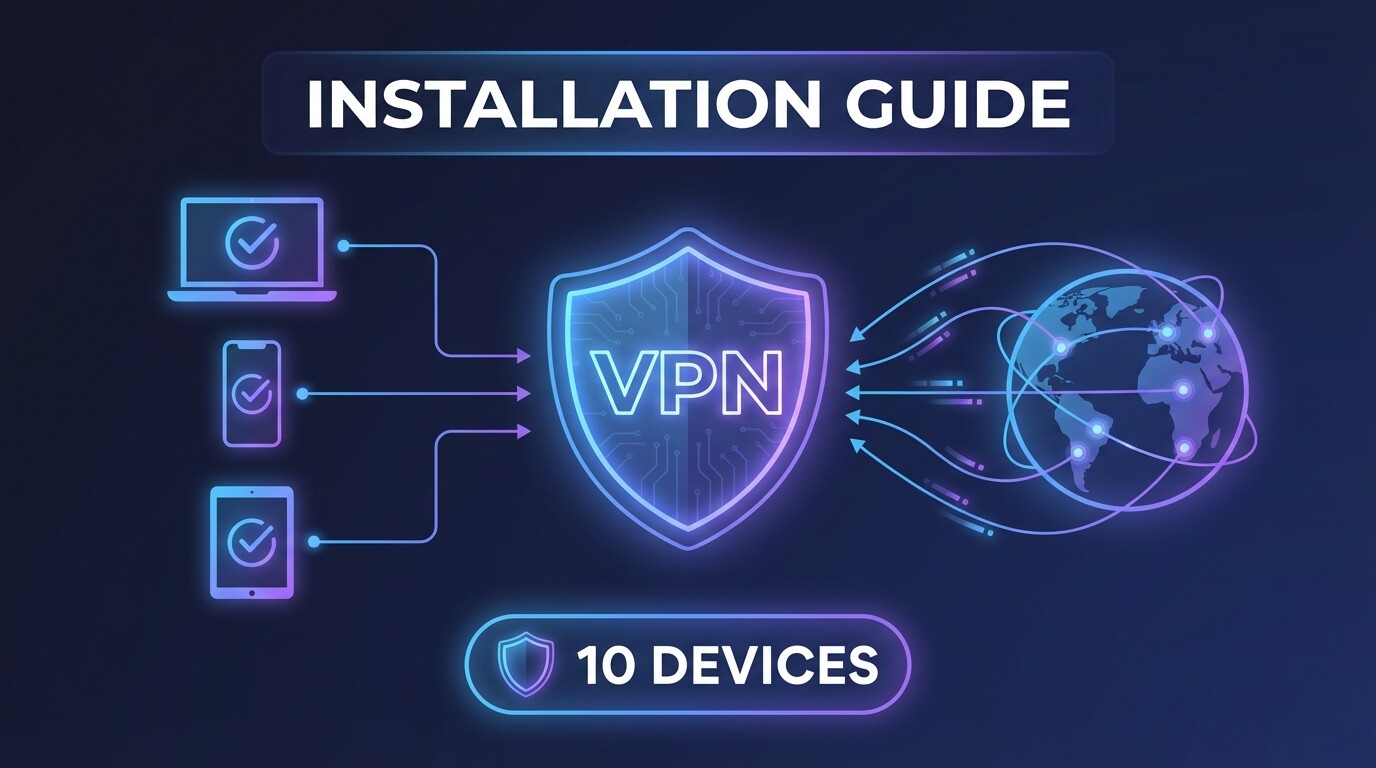
With a single NordVPN license, you can protect up to 10 devices simultaneously, making it perfect for families or professionals who use multiple devices.
Step 1: Create Your NordVPN Account
Before you can use NordVPN, you need to create an account:
- Go to nordvpn.com
- Click on Sign Up or Get NordVPN
- Enter your email address and create a secure password
- Verify your email address by clicking the link sent to your inbox
Already have an account? Simply log in with your existing credentials.
Step 2: Activate Your License
If you purchased a NordVPN license from Licendi, you will need to activate it:
- Log in to your NordVPN account at my.nordaccount.com
- Navigate to the Subscription or Redeem Code section
- Enter the license code we provided you
- Click Apply to activate your subscription
Your license will be immediately activated and ready to use on up to 10 devices.
Step 3: Download the Application
NordVPN offers native applications for all major operating systems:
Windows
- Visit the NordVPN Downloads page
- Click Download for Windows
- Save the installer file to your computer
macOS
- Open the Mac App Store
- Search for NordVPN
- Click Get to download
Android
- Open the Google Play Store
- Search for NordVPN
- Tap Install
iOS (iPhone/iPad)
- Open the App Store
- Search for NordVPN
- Tap Get to download
Linux
- Open your terminal
- Follow the instructions on the NordVPN Linux page
Step 4: Install and Connect
Once you have downloaded the application:
- Run the installer and follow the on-screen instructions
- Open NordVPN after installation completes
- Log in with your NordVPN account credentials
- Select a server from the country you prefer (or use Quick Connect for the fastest option)
- Click Connect to establish your secure VPN connection
Multi-Device Protection
With your NordVPN 10-device license, you can install and use NordVPN simultaneously on:
- Your work computer
- Your personal laptop
- Your smartphone
- Your tablet
- Family members devices
All devices will be protected under the same account, making it incredibly cost-effective for households and small businesses.
Frequently Asked Questions
How many devices can I use with one NordVPN license?
With the NordVPN 10-device license, you can have NordVPN installed and active simultaneously on up to 10 computers, smartphones, or tablets, all under the same account.
Is NordVPN easy to install?
Yes, NordVPN installation is straightforward and takes less than 5 minutes. The applications for all platforms are user-friendly and require no technical knowledge.
Can I use NordVPN on my router?
Yes, NordVPN can be configured on compatible routers, which allows you to protect all devices connected to your home network without counting against your device limit.
What if I have problems activating my license?
If you experience any issues activating your license code, contact our support team at Licendi and we will assist you promptly.