How to Install Office Standard on MacOS: Step-by-Step Guide
When it comes to productivity and efficiency, having the right tools is key. And if you're a macOS user looking to upgrade or install Office Standard, you're in the right place. Installing Office Standard on macOS may seem like a challenge, but with our step-by-step guide, you'll be ready to get the most out of Word, Excel, PowerPoint and Outlook in no time. Let's dive into the process.

Preliminary Cleanup: Uninstall Old Versions
Before welcoming the new Office suite, it's crucial to say goodbye to any previous versions residing on your Mac. This helps avoid software conflicts and ensures a clean installation. To do this, follow the steps we explain in our YouTube tutorial. Don't forget to empty your Recycle Bin to complete the removal. Did you have Office 365? Then take the extra step and use the Microsoft Office 365 License Uninstaller tool to clean up any license residue.
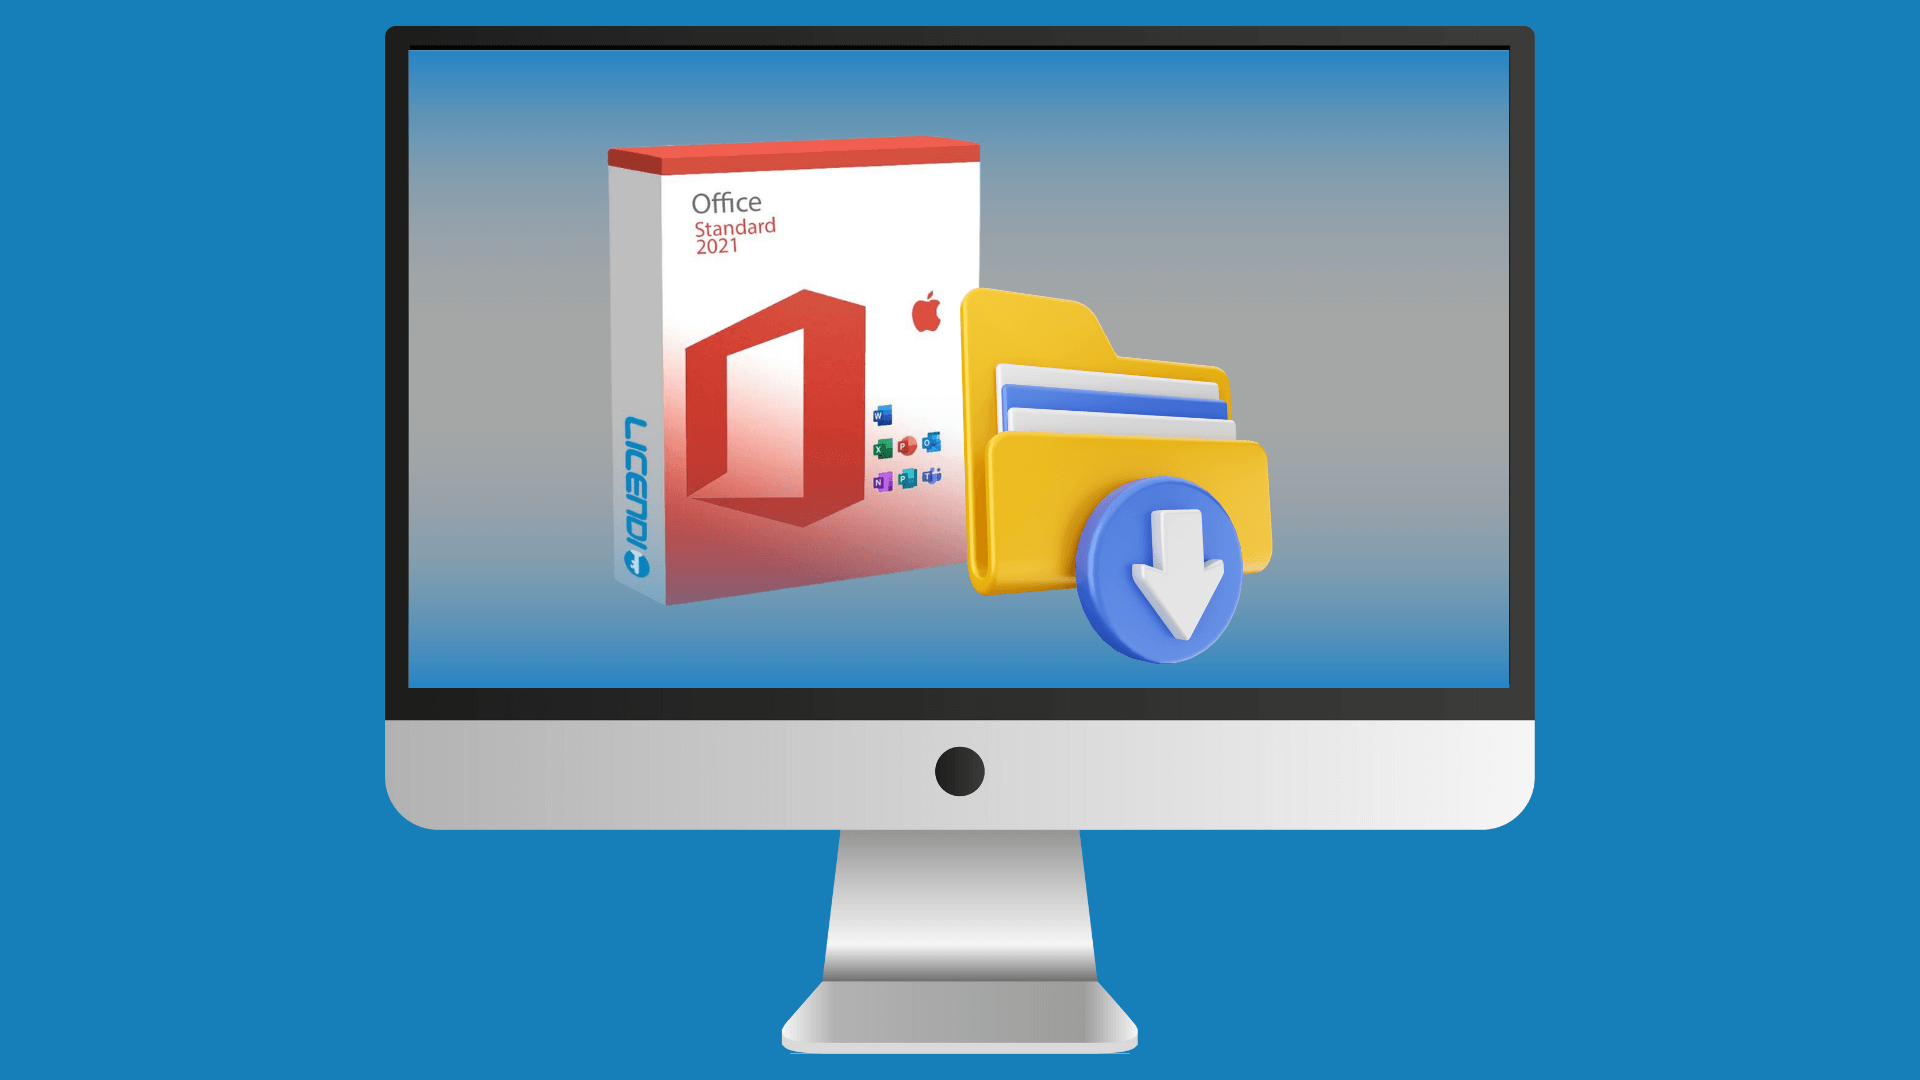
Download the Necessary Files
Check your email or invoice for download links: you will need both the installer and the serialiser. These two files are essential for a successful installation and activation of your Office Standard on MacOS.
Install the Serialiser First
Once the files have been downloaded, the first step is to run the serialiser. Double-click on this file and follow the installation process, accepting the options presented. This step is crucial to ensure that your licence is activated correctly. If you reverse the order of installation, you may encounter problems with licence activation.
Proceed to Installer
Now that the serialiser is in place, it is time to install the software itself. Double-click on the installer file and follow the instructions until the installation is complete. This step will complete the installation of Office Standard on your Mac.
Verification and Updating of Applications
After installing both files successfully, open the Applications folder and launch Word, Excel, PowerPoint or Outlook. Normally, Office will check for available updates to ensure your applications are up to date. Allow the software to update any necessary programs.
Note: If you get an error message indicating that you need to update your MacOS to get more updates for office, you can close the message. It only notifies you that all available updates for your MacOS are installed.
Initial Configuration
When you first start, you may be prompted to create or sign in to a Microsoft account. However, if you prefer to skip this step, simply select "skip sign-in". This will allow you to access the software directly and start using it without delay.
Each program (Word, Excel, PowerPoint, Outlook...) will ask you to log in to your Microsoft account. You will have to ignore this connection for each of the programs.
Happy productivity with your new Office Standard on MacOS!
With these steps, you should be well on your way to install Office Standard on macOS. Not only have you updated your productivity suite, but you've also ensured that the installation goes smoothly and efficiently. Remember, keeping your software up to date and following recommended procedures not only improves your efficiency but also protects your device from potential incompatibilities or security issues - now you're ready to make the most of your new Office applications on macOS!
Do you have any questions or need additional help during your installation process? Feel free to check out Microsoft's help section or visit our support centre for any questions you may have.